How to Create Groups
Step 1
Create a Grouping (groups must be created before students upload assignments)
- Go to the Moodle course.
- Click the Admin drawer (far right quick access menu) > Course administration > Users > Groups.

- Select Groupings from the dropdown menu.

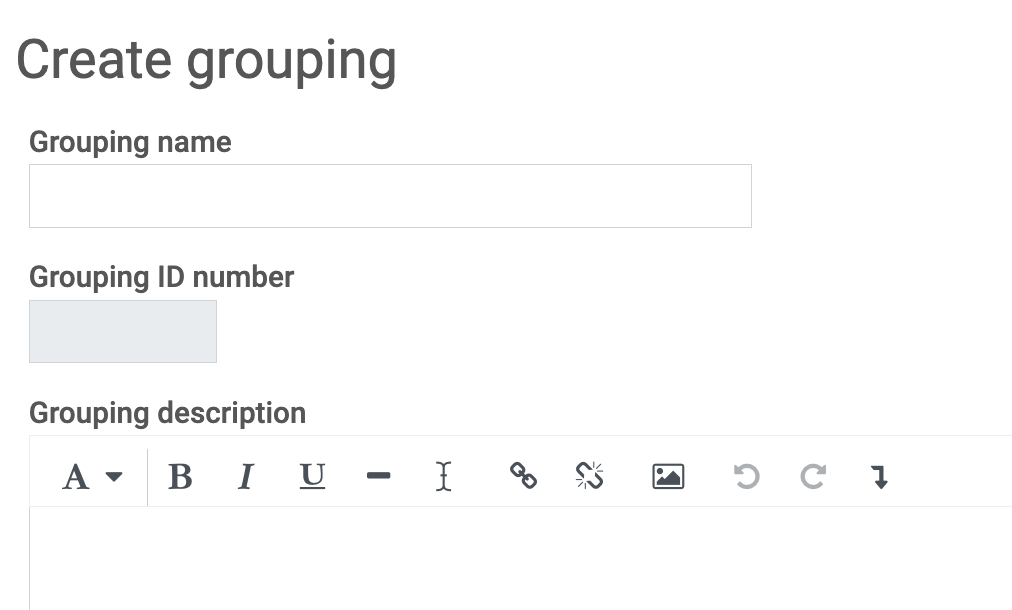
- Click on Create grouping.

- Enter a Grouping name (e.g., Collaboration grouping).
- Click Save changes.

Step 2
Create Groups
- Go to the Admin drawer> Course administration > Users > Groups.

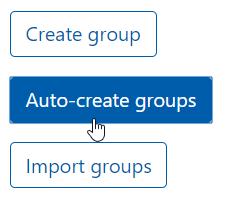
- Click on Auto-create groups (alternatively, manually construct the groups by clicking Create Group)
- Set the Naming scheme.
- Use @ for A, B, C... and # for 1, 2, 3...

- Use @ for A, B, C... and # for 1, 2, 3...
- Create any number of groups or groups with any number of students.
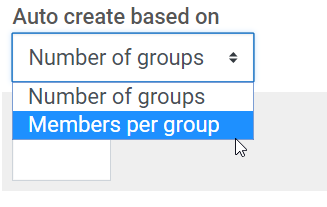
- Define the Group/member count

- Select the Grouping created in Step 1.

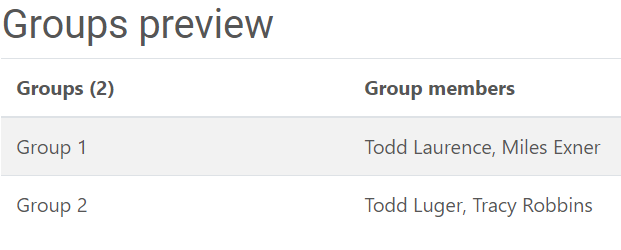
- Select Preview to make sure your groups look right.

- Note: Please check the Moodle group documentation if you need clarity on additional details.
- Note: Please check the Moodle group documentation if you need clarity on additional details.
- Click Submit.

- Select Overview from the dropdown menu to see the groups.

- If needed, copy and paste the grouping details to announce the groups.

Add or Remove Group Members
Step 1
Go to the Moodle course, and click the Admin drawer > Course administration > Users > Groups.
Step 2
Click the Group to modify.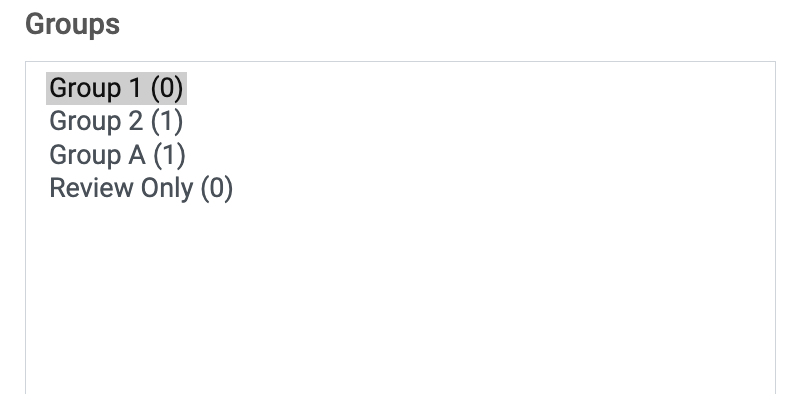
Step 3
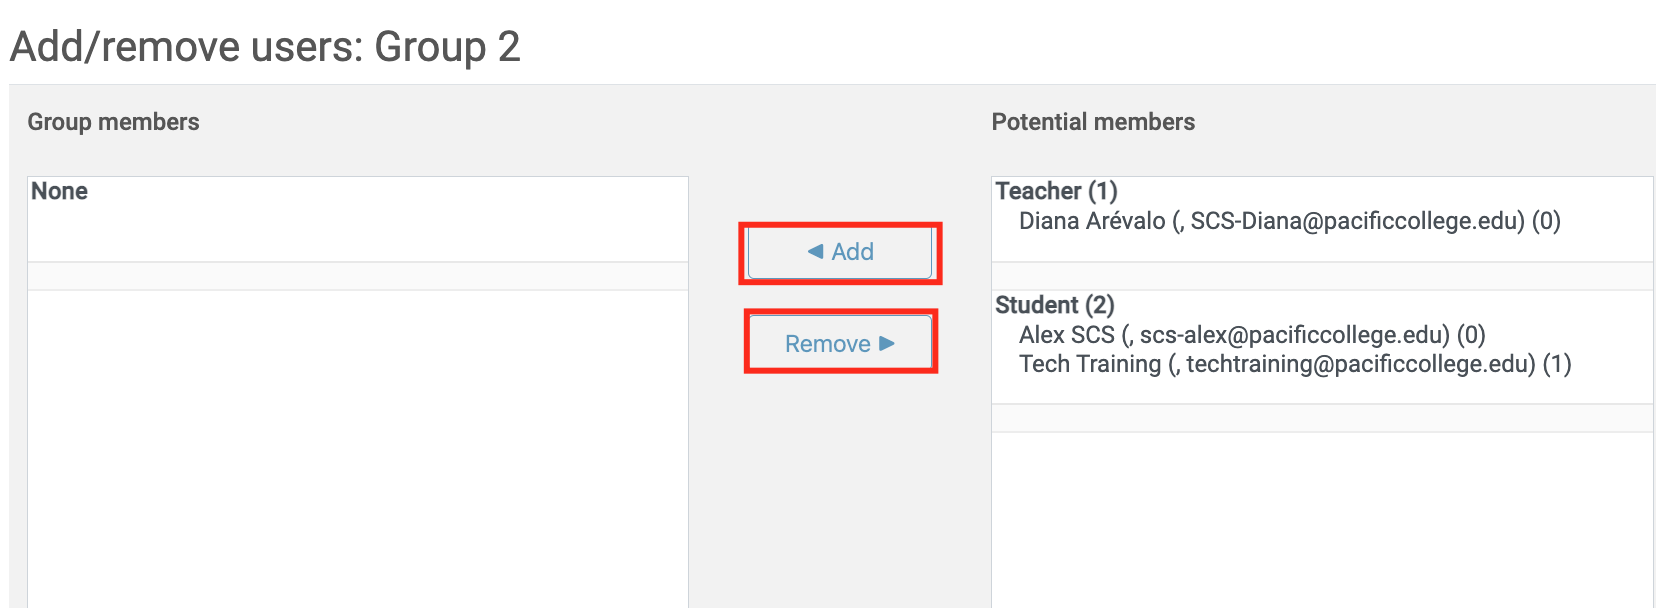
Click Add/remove users.
Step 4
Using the Add and Remove buttons, edit the group members as desired.
Step 5
Click the Back to groups button once the changes have been made. 
Create the Group Collaboration Forum
Step 1
Go to the weekly section where you’d like to create the activity. Scroll down and click on Create learning activity and select Discussion Forum.


Step 2
Go to the Common module settings accordion to add the group setup.

Step 3
Set the Group mode to Separate groups, so students cannot see posts from other groups.
Step 4
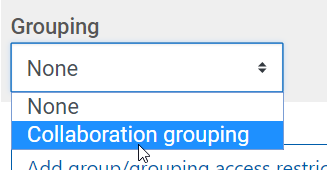
Set the Grouping from the Grouping dropdown.
Step 5
Finish configuring the forum as needed and click on Save and return to course or Save and display.

Create a Group Collaboration Assignment
Step 1
Go to the weekly section where you’d like to create the activity. Scroll down and click on Create learning activity and select Assignment.

Step 2
In the right menu panel, look for the Common module settings accordion and click to open the dropdown menu.
Step 3
In Group Mode, select Separate Groups or Visible Groups, depending on your needs. Then, choose the Grouping from the Grouping dropdown menu.

Step 4
Look for the Group submission settings accordion, click on it to open the menu, and make sure the options are correctly set.
Step 5
Finish configuring the assignment as needed and click on Save and return to course or Save and display.

Grading Group Assignments
Step 1
To grade the assignments, go to your course page and click the link to the assignment activity you want to grade. The Assignment page will open, showing the Grading summary and Submission status.

Step 2
Click View/grade all submissions. The Assignment submissions page will open.
Step 3
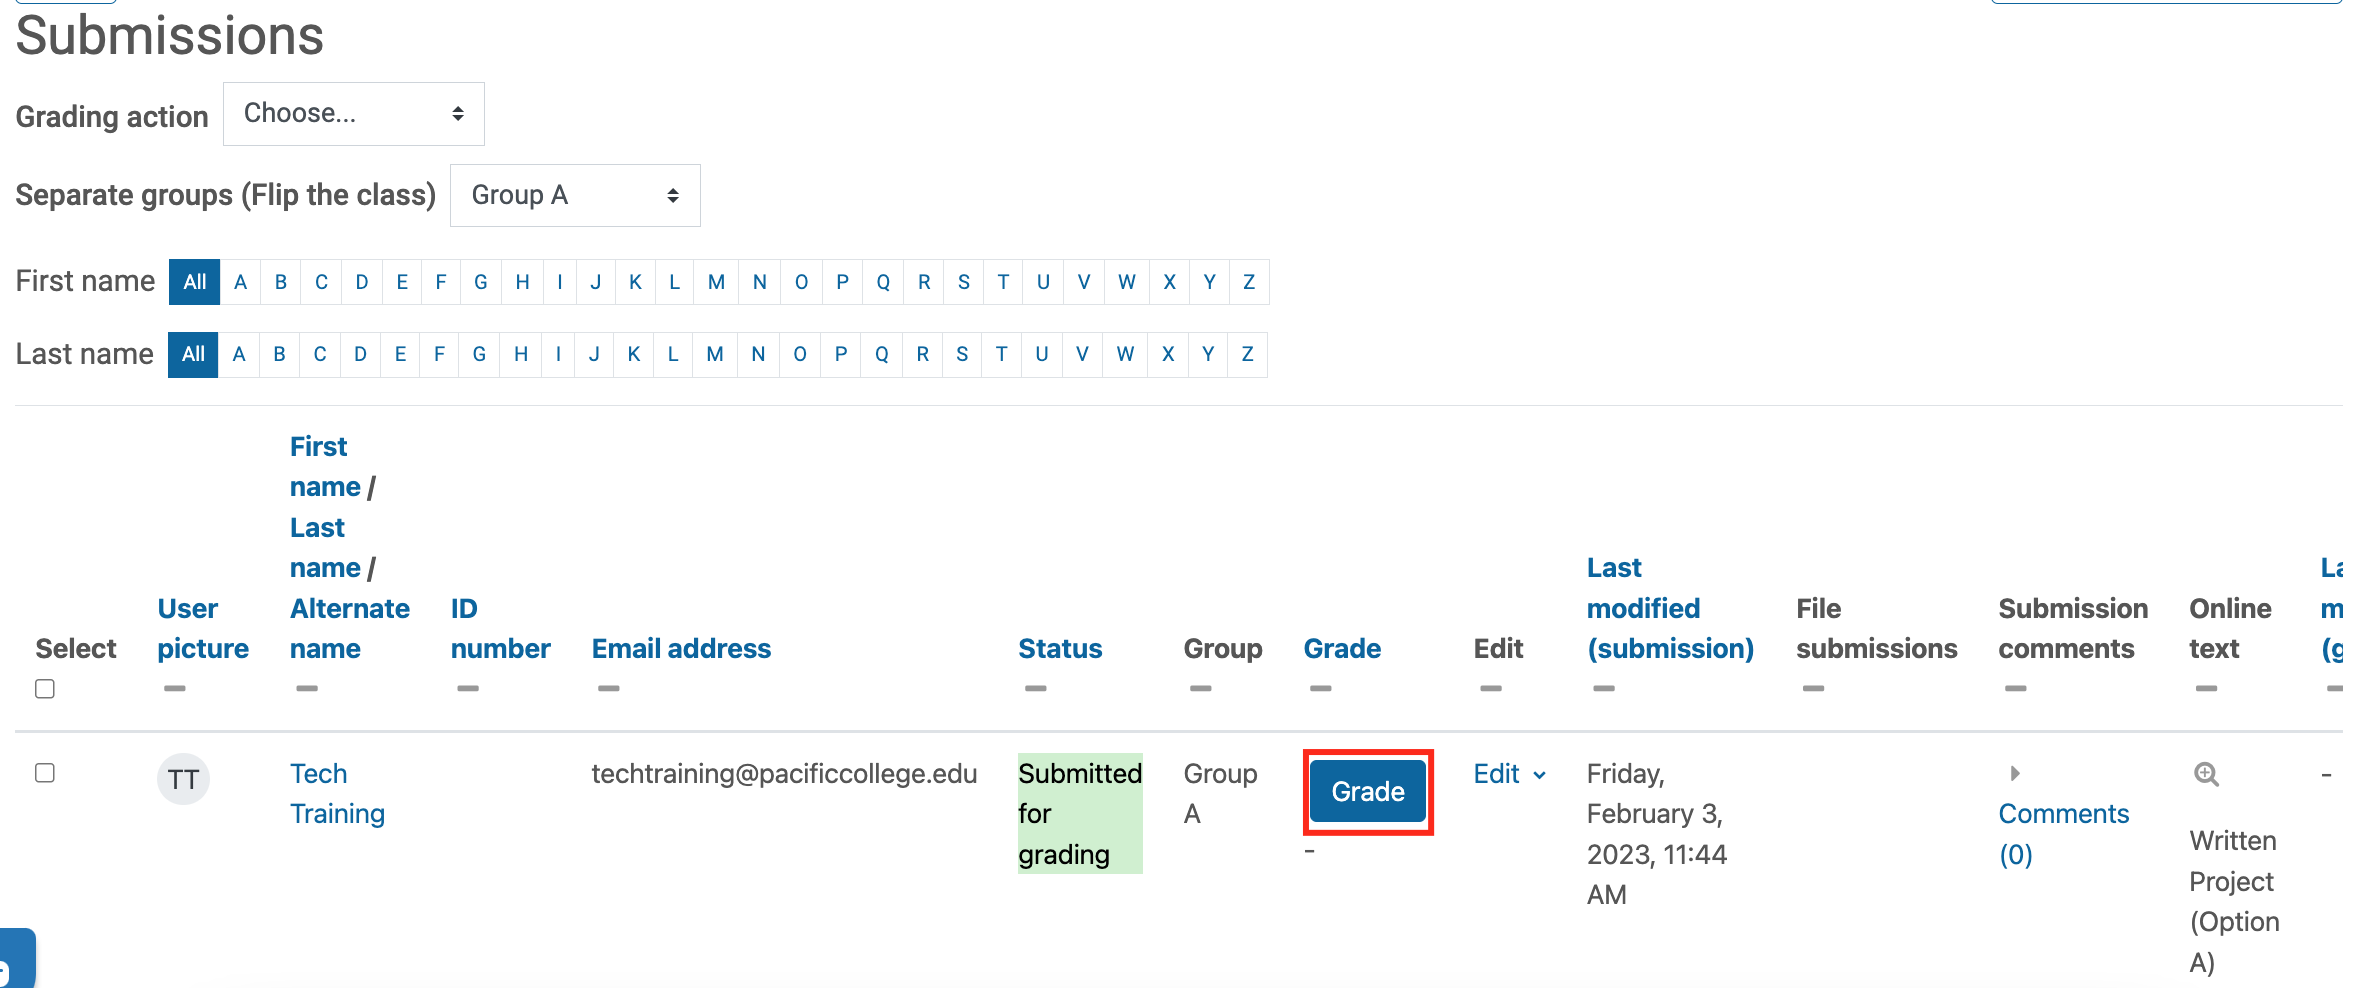
From the Separate groups or Visible groups dropdown menu, select a group to grade. The page will reload to show only the students from that Group.

Step 4
Click the Grade icon next to a specific student's submission from the Group. The submission grading page will open.
Step 5
Provide a grade and feedback comments as you normally would.

Step 6
If you would like your grade and feedback to only be provided for an individual student, under Group submission settings, set the Apply grades and feedback to the entire group setting to No. If set to Yes, the same grade and feedback will be applied to all students in the group.

Step 7
Scroll down to the bottom and click Save changes.

Step 8
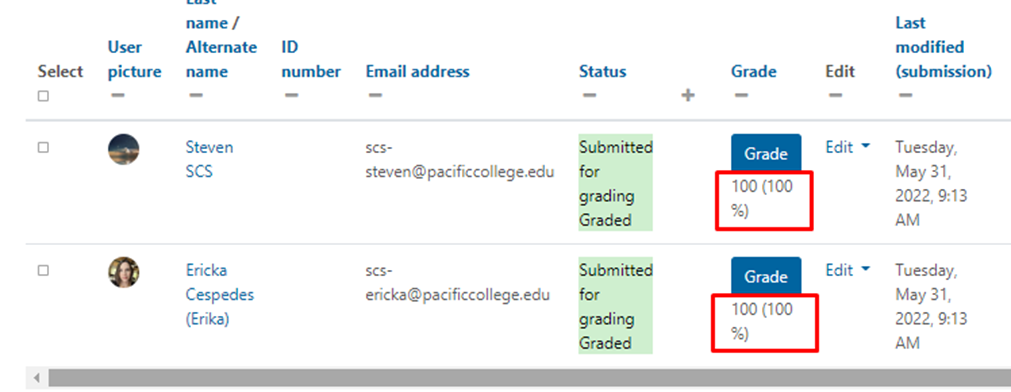
When reviewing the Assignment, the grade has been applied to the students who belong to the Group.
Splitting the Class
If a class has a significant amount of students, you may want to split it up so you can grade groups separately for every activity. To make every activity in the course, including the grade book, separate, set the course settings to group mode.
Step 1
Inside the Moodle course, go to Admin drawer > Course Administration > Settings

Step 2
Under the Groups accordion, set the Group mode to Separate groups.

Step 3
Set the Default grouping you set up.
Step 4
Confirm your course settings by clicking the Save and display button.
Step 5
You can change what Group you want to grade in a forum, activity, open grader, or gradebook.
Select the dropdown menu to change groups.
Discussion forum:
Gradebook (Grader report):
Open Grader:


