To add polls to a meeting, you must be the main host of the meeting or have scheduling privileges for the host of the meeting.
Prerequisites
- The meeting must be either a scheduled meeting, or an instant meeting using your Personal Meeting ID. The poll option will not appear for instant meetings that use a generated meeting ID
- Host user type must be Licensed
You can set up polls two different ways:
- Inside the Zoom Meeting Setup or during the live Zoom Meeting (must be scheduled or using your Personal Meeting ID)
- Inside the Zoom Moodle Integration
Setting up Polls in the Zoom Meeting Setup
Pro: Easy to setup.
Con: Cannot be copied into other meetings.
Poll Setup
- Go to the Meetings page and click on your scheduled meeting. If you do not have a scheduled meeting, schedule a meeting now.
- From the meeting management page, scroll to the bottom to find the Poll option. Click Add to begin creating the poll.

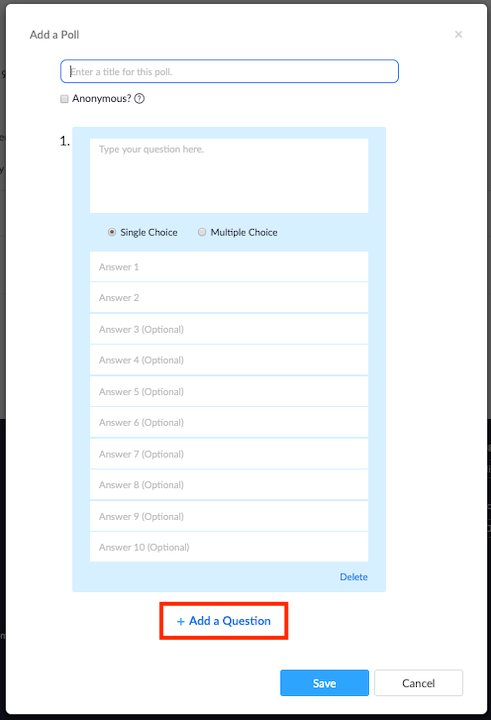
- Enter a title and your first question.
- (Optional) Check the box to make the poll anonymous, which will keep the participant's polling information anonymous in the meeting and in the reports.
- Select whether you want the question to be single choice (participants can only choose one answer) or multiple-choice questions (participants can choose multiple answers).
- Type in the answers to your question and click Save at the bottom.
- If you would like to add a new question, click Add a Question to create a new question for that particular poll.
- You can add more polls by repeating Step 2.
You can also create a poll by clicking Polling during the meeting. This will open up your default web browser where you can add additional polls or questions.
Note: You can only create a max of 25 polls for a single meeting.
Setting up Polls in the Zoom Moodle Integration
Pro: Polls may be saved in an external file for use in other meetings.
Con: CSV file is more complicated to setup.
Setup your Polls
Step 1
Download the poll.csv by clicking here
Step 2
Open the attached file with Excel
Step 3
Change the Title of each group of polls
Change the Question name to the question you want to ask
Change the Question type to single or multiple answers
Change the answers. Add extra rows for additional answers.
Delete any unwanted polls
Save the file.
Import the CSV File into the Meeting
Step 1
Go to the Zoom Moodle Integration

Step 2
Click the meeting you want to add polls to

Step 3
Scroll to the bottom of the page and click Download Import CSV

Step 4
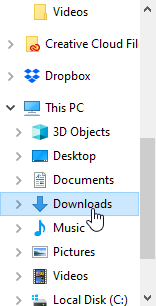
Select your Downloads folder or wherever you saved the polls
Step 5
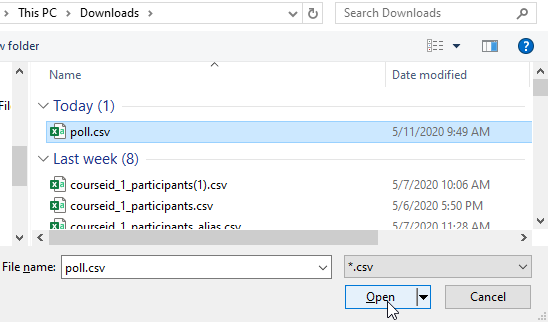
Click the poll.csv file you saved and click Open
Step 6
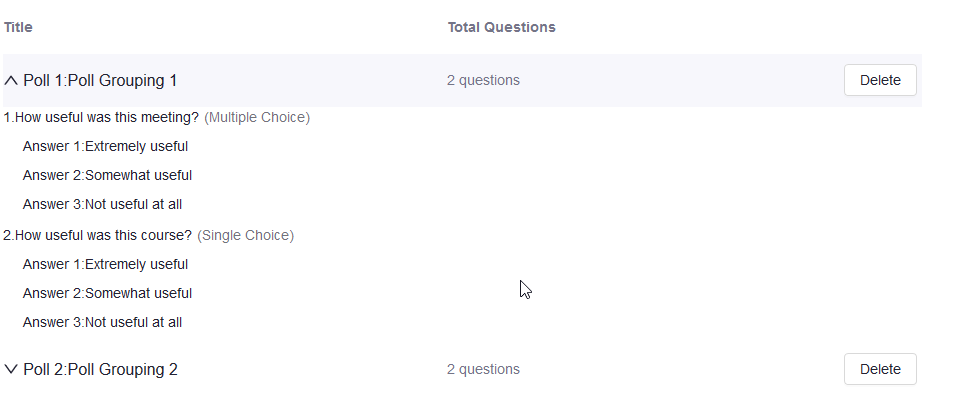
Check your polls are correct
Launching a Poll and Collecting the Data
Launching a Poll
- Start the scheduled Zoom meeting that has polling enabled.
- Click Polls in the meeting controls.

- Select the poll you would like to launch.
- Click Launch Poll.
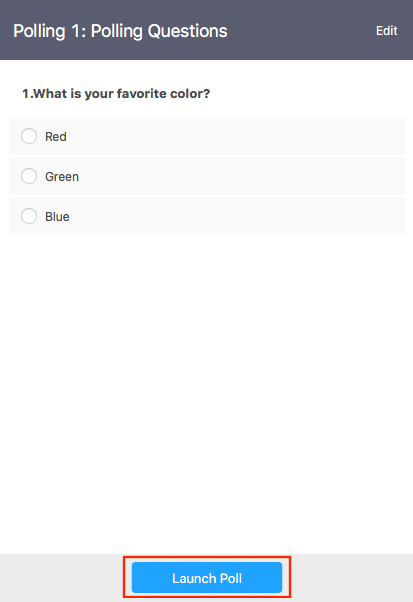
- The participants in the meeting will now be prompted to answer the polling questions. The host will be able to see the results live.
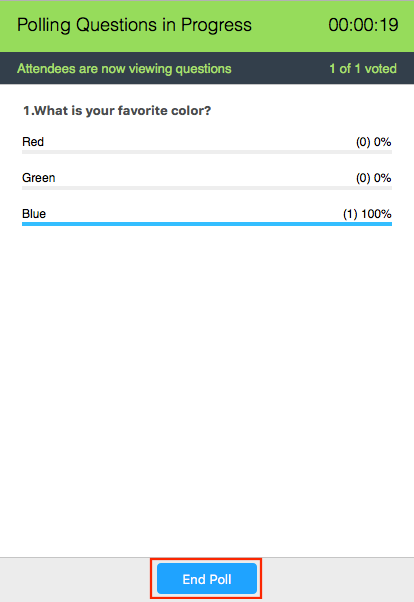
- Once you would like to stop the poll, click End Poll.
- If you would like to share the results to the participants in the meeting, click Share Results.
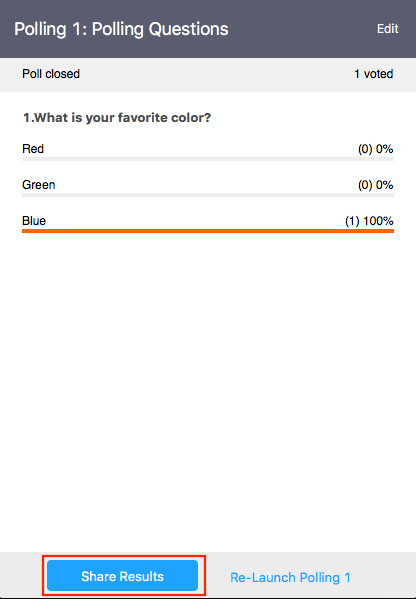
Participants will then see the results of the polling questions.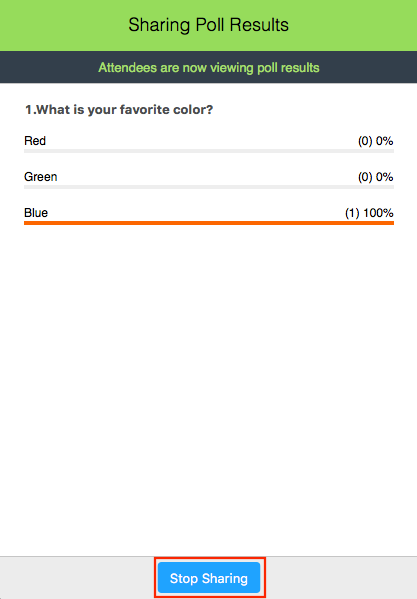
Downloading the Results
You can download a report of the poll results after the meeting. If registration was turned on and the poll was not anonymous, it will list the participants' names and email addresses. If registration was not on, it will show the results, but list the participants as "Guest". If the poll was anonymous, it will show "anonymous" for the participants' names and email addresses.