Accept Calendar Invite from Outlook Desktop App
For this example we will be viewing the NY StudentHub calendar. These instructions will work for each campuses calendars.
Step 1
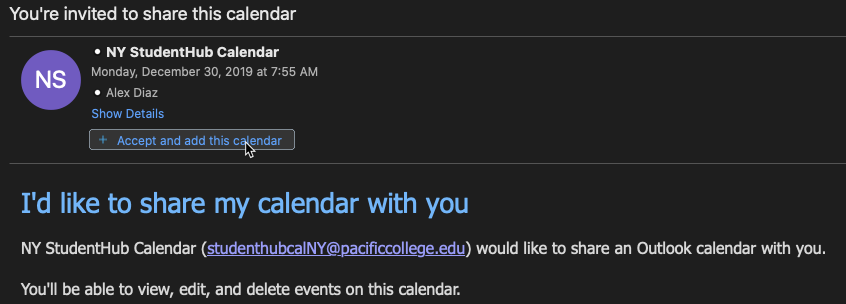
You will receive and email inviting you to share the StudentHub Calendar

Step 2
Click on the "Accept and add this calendar" button within the email
Step 3
To view the calendar click on the Calendar icon at the bottom left of the application

Step 4
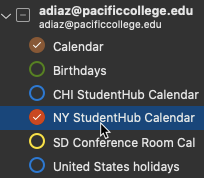
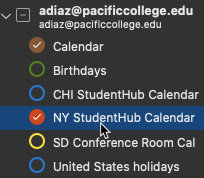
Click on the NY StudentHub Calendar. Then you will be able to view the calendars events.
Accept Calendar Invite from Outlook Online
For this example we will be viewing the SD StudentHub calendar. These instructions will work for each campuses calendars.
Step 1
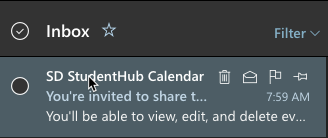
You will receive and email inviting you to share the StudentHub Calendar
Step 2
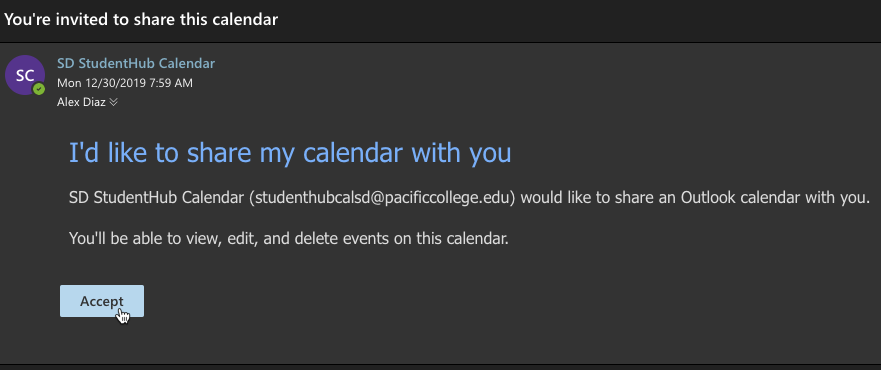
Within the email click the "Accept" button
Step 3
To view the calendar click on the Calendar icon at the bottom left of the browser

Step 4
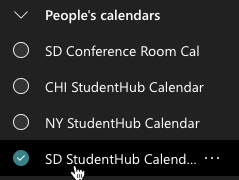
Click on the SD StudentHub Calendar. Then you will be able to view the calendars events.
Adding events to the Student Hub Calendar
Please note that the events you add to the Outlook calendar will take 12 hours to populate in the StudentHub Calendar
For this example we will be viewing the NY StudentHub calendar. These instructions will work for each campuses calendars.
Step 1
Before you add an event to the student calendar ensure that the appropriate calendar is highlighted. If you do not highlight the student calendar before adding an event it will not add the event to the correct calendar.
Step 2
When adding a new event to the calendar ensure the correct calendar shows at the top of the new event
