This article covers the steps to add files into a course, assignment, or discussion forum. For a course that has been live for students, announcements are the easiest way to get new content in so that they do not miss it. The announcement will be sent to all students in the course with the file attached and can be found in the course shell inside the announcements.
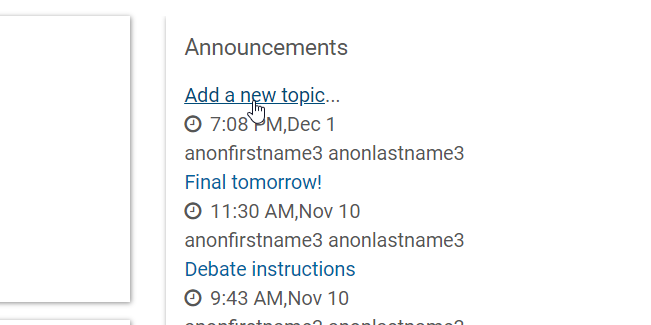
Adding Files to an Announcement
Step 1
Under the Table of Contents, click Course Dashboard
Step 2
Click on Add a new topic in the Announcements block.
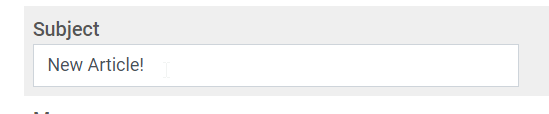
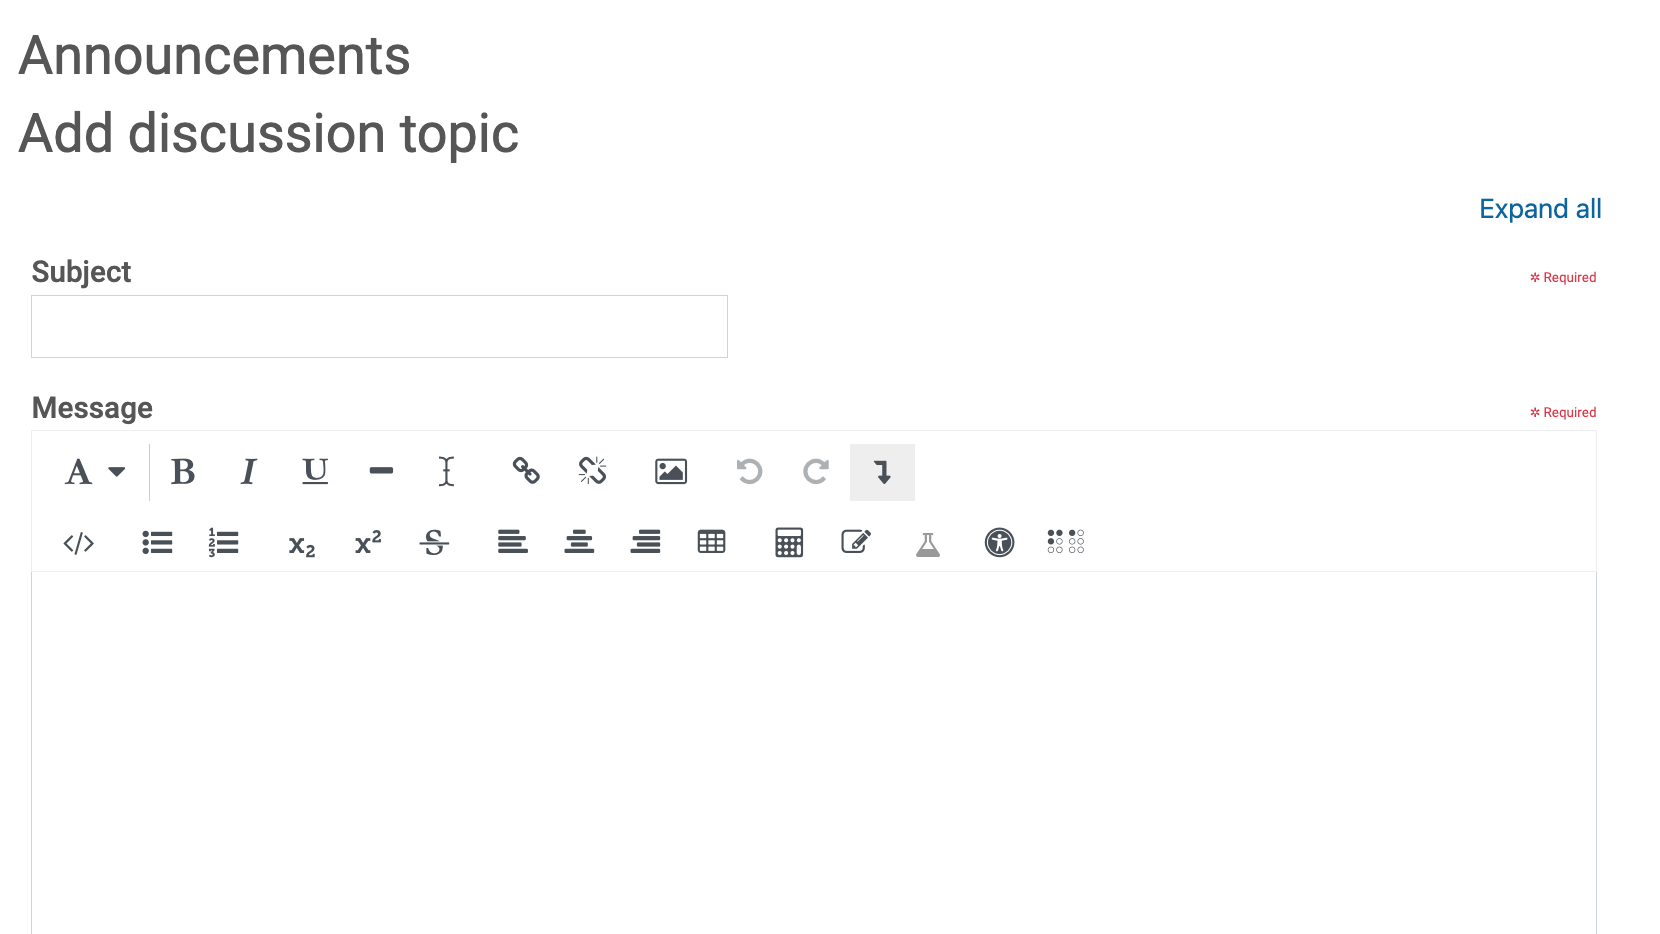
Step 3
Enter the subject
Step 4
Enter the message
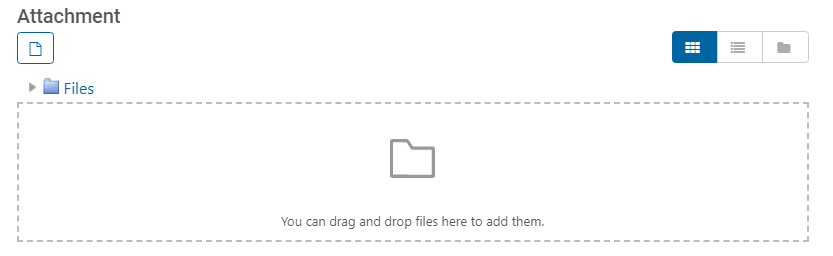
Step 5
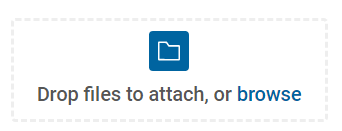
Use the Attachment area to upload a file. You can drag and drop the file or click on the folder icon.
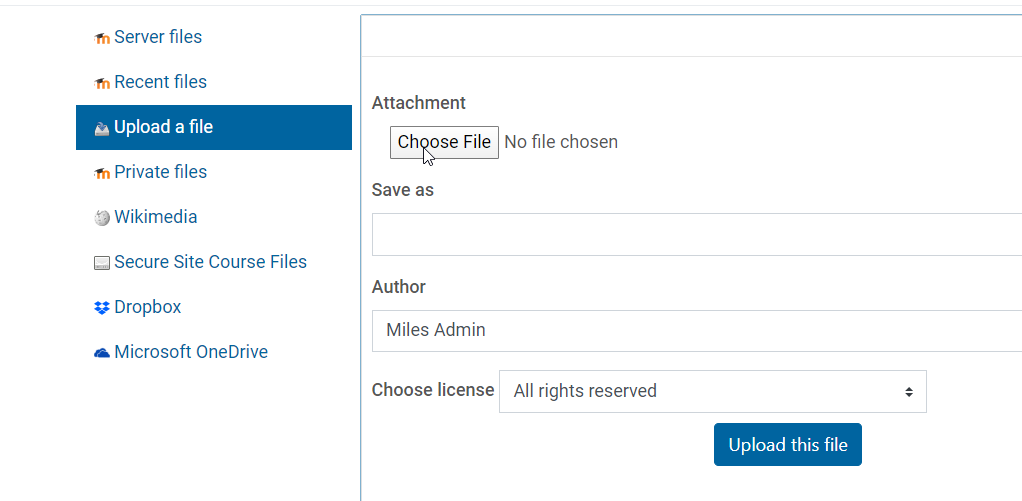
Step 6
Choose a file to upload from local or cloud storage (e.g., Dropbox or OneDrive)
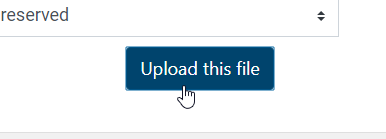
Step 7
Click Upload this File
Step 8
Click Post to Forum
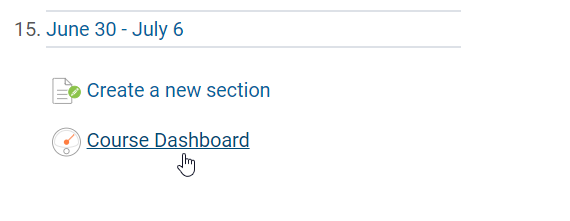
Adding Files to the Course
Step 1
Go to the week you want to add materials to

Step 2
Scroll to the bottom of the page and click on browse. You can also drag and drop a file to the page for an automatic upload.
Step 3
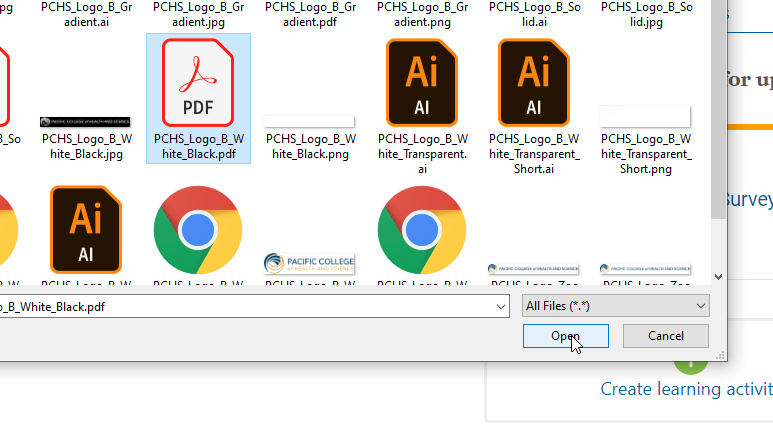
Select a file and click Open
Step 4
Refresh the page

Step 5
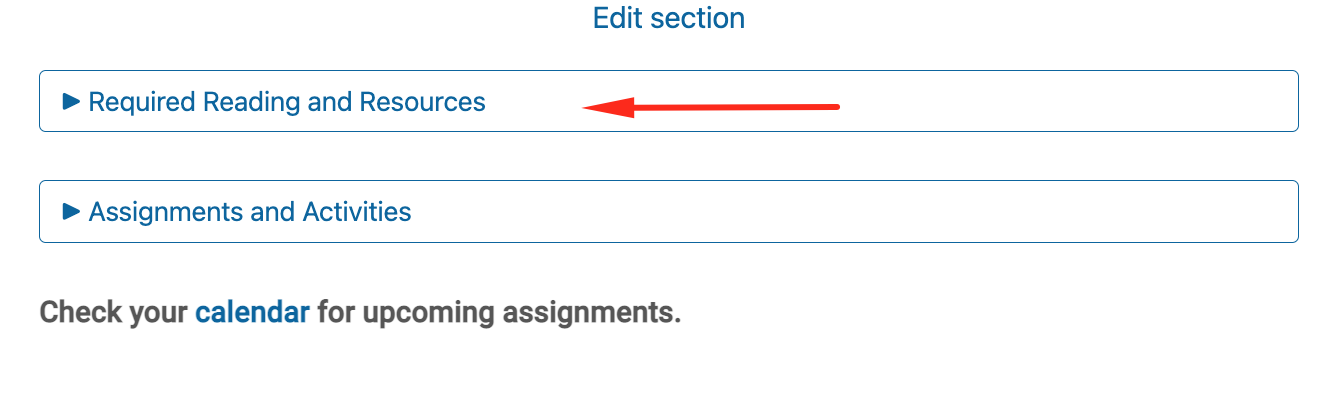
Click the Required Reading and Resources accordion
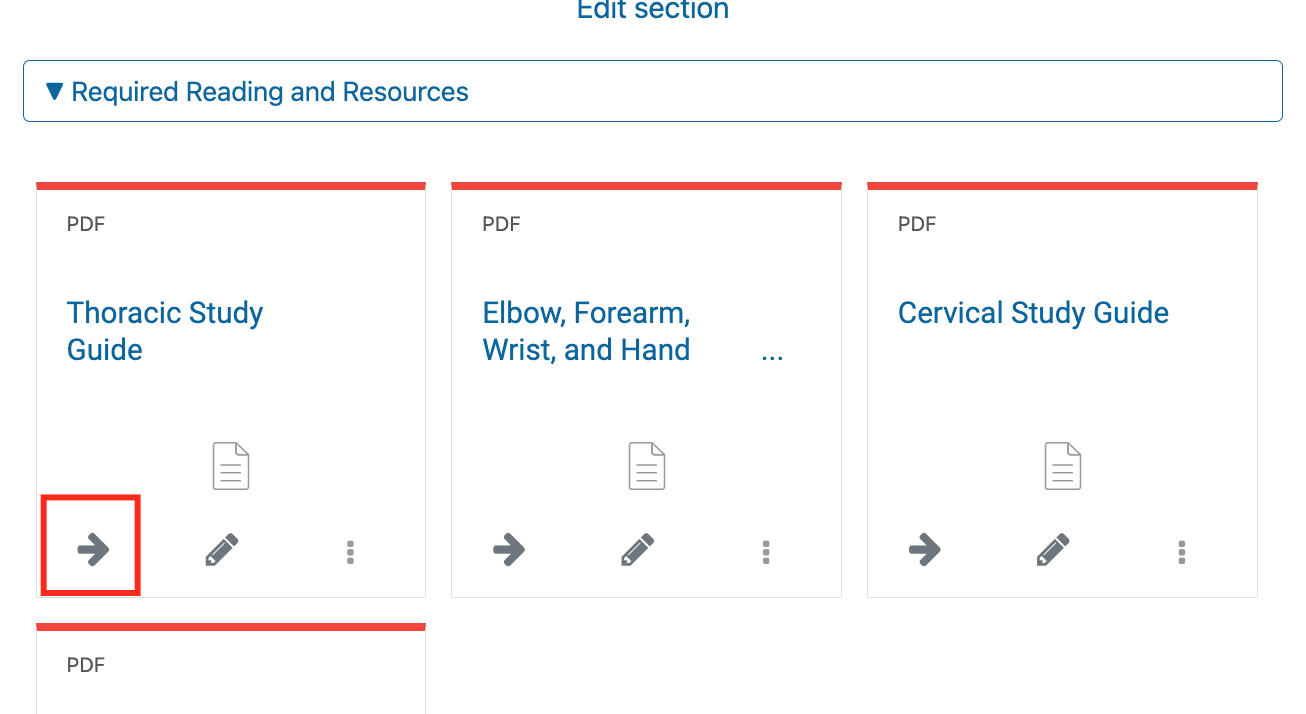
Step 6
Click the Move icon, if you need to move the resource within the accordion
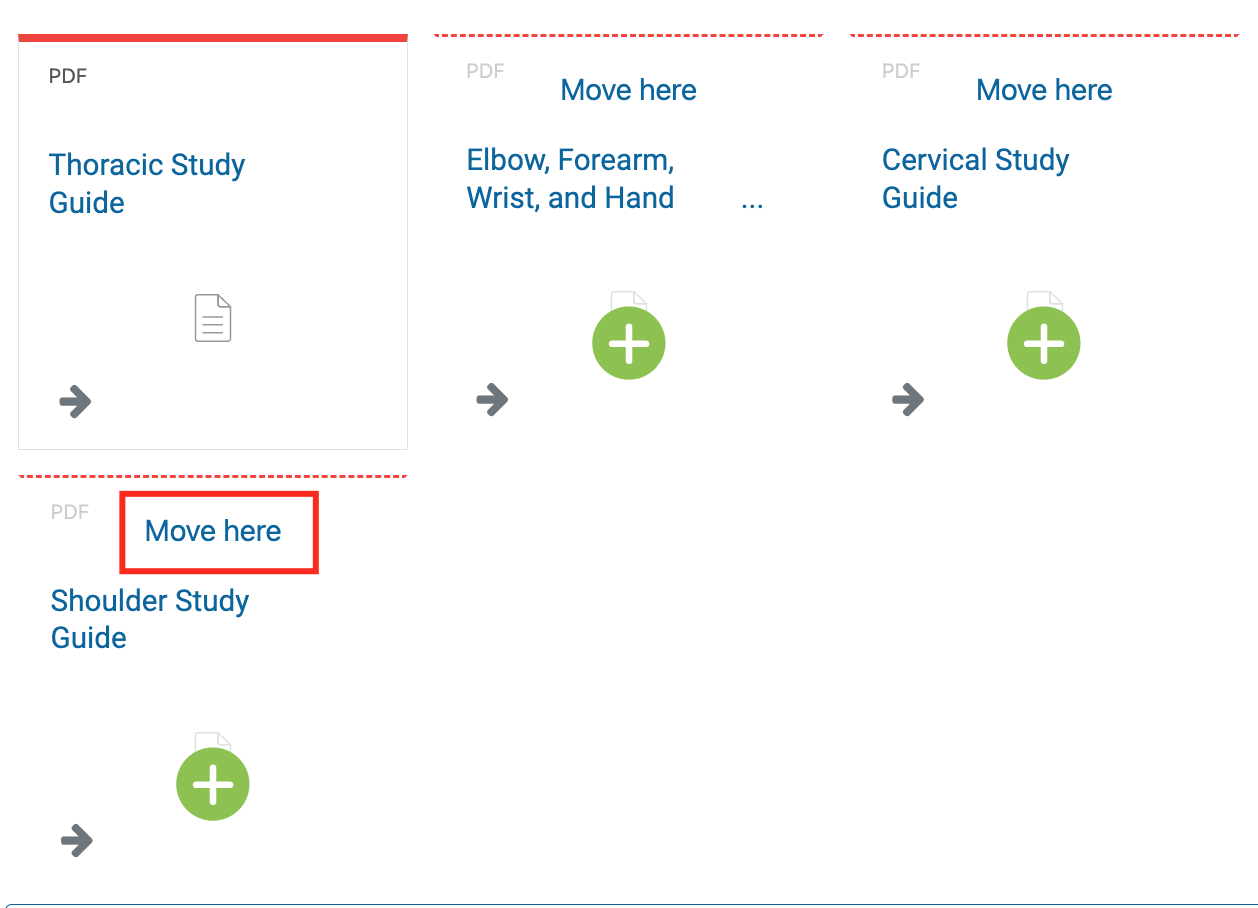
Step 7
Click Move here to move the resource above the location
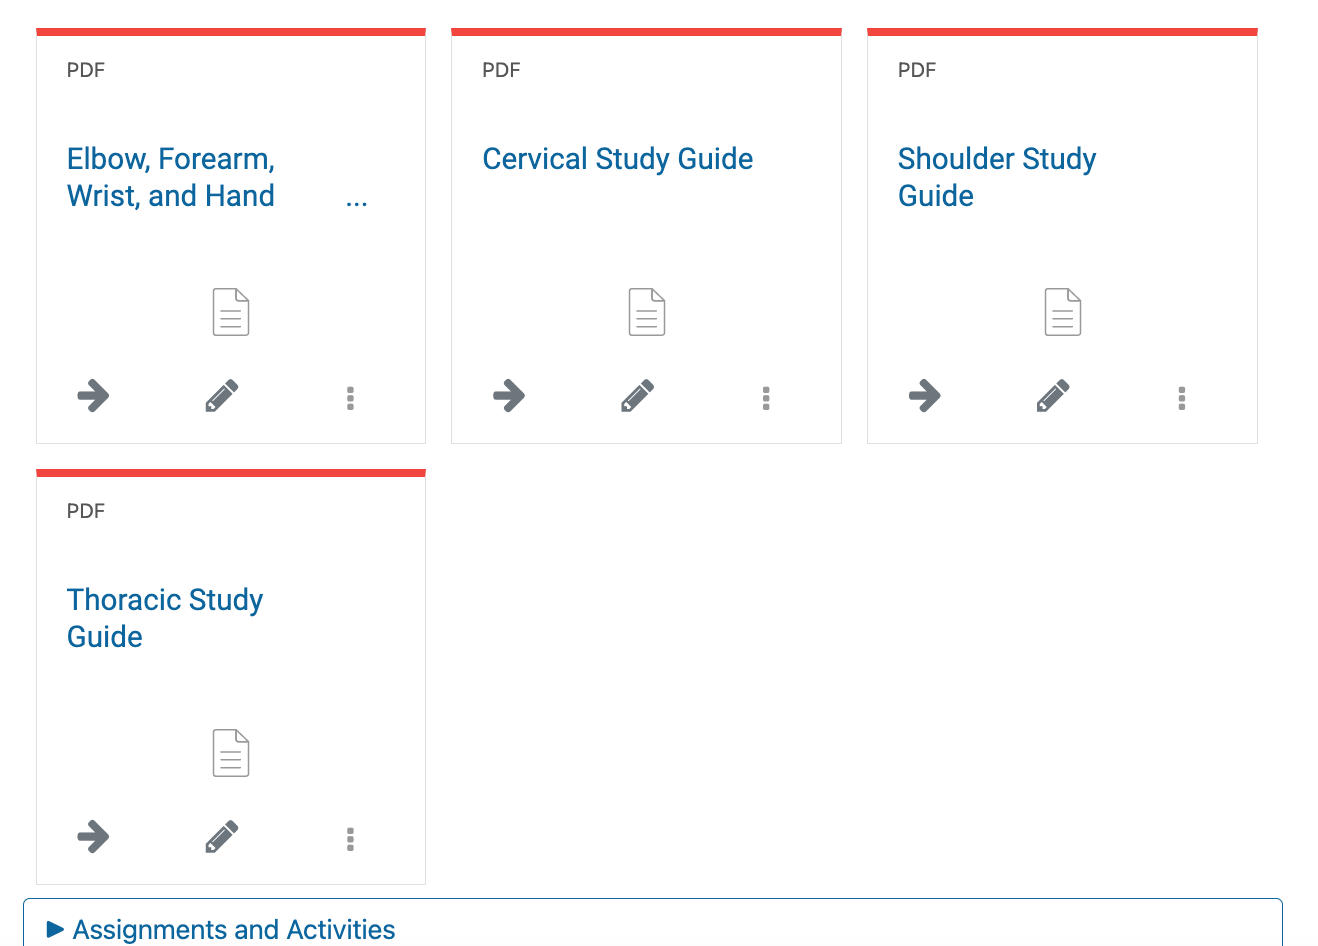
Step 8
Double-check that the resources are in order
Adding Files to an Assignment
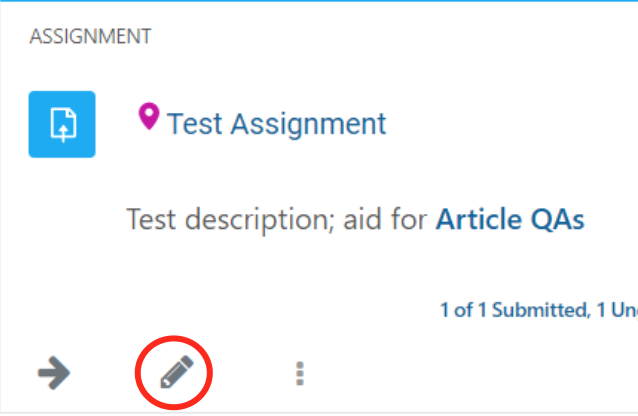
Step 1
Edit the assignment
Click the pencil icon from the course page
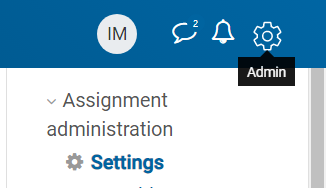
Or, inside the assignment, click the Admin gear > Assignment administration > Settings.
Step 2
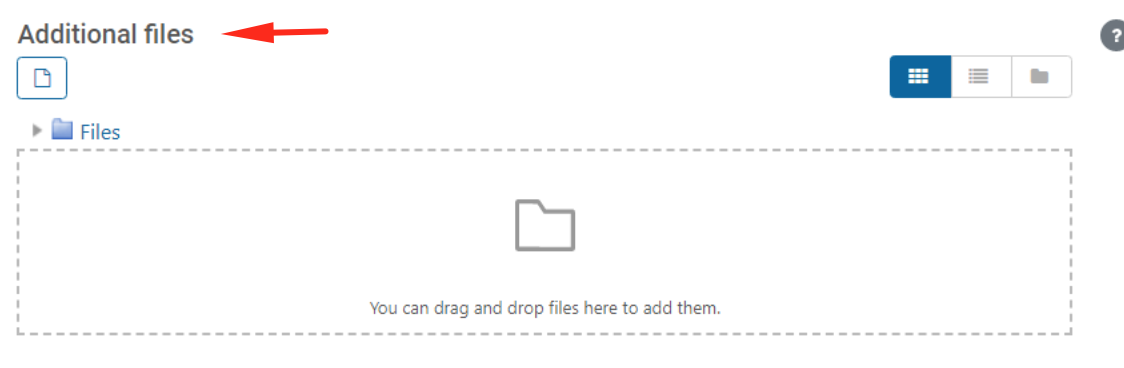
On the left-hand side of the screen, scroll to the Additional files box.
Step 3
Click on the file icon.

Step 4
Choose a file to upload from your local or cloud storage (e.g., Dropbox or OneDrive)
Step 5
Click Upload this File
Step 6
Click on Save and return to course or Save and Display to save your changes. 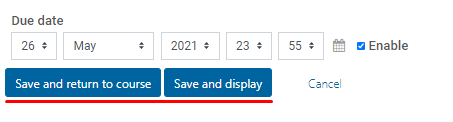
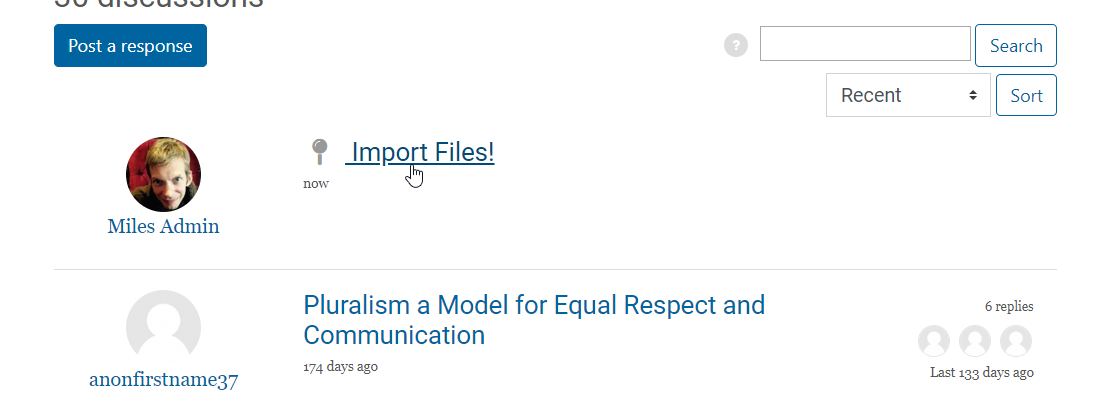
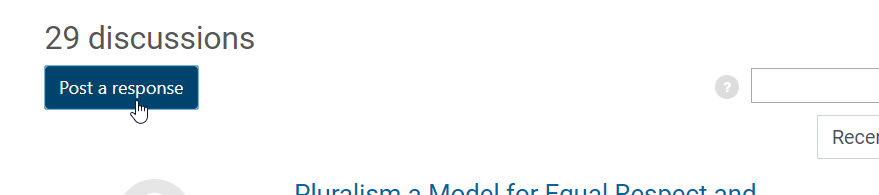
Adding Files to a Discussion Forum
Step 1
Click a Discussion Forum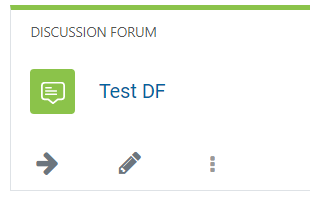
Step 2
Click Post a response
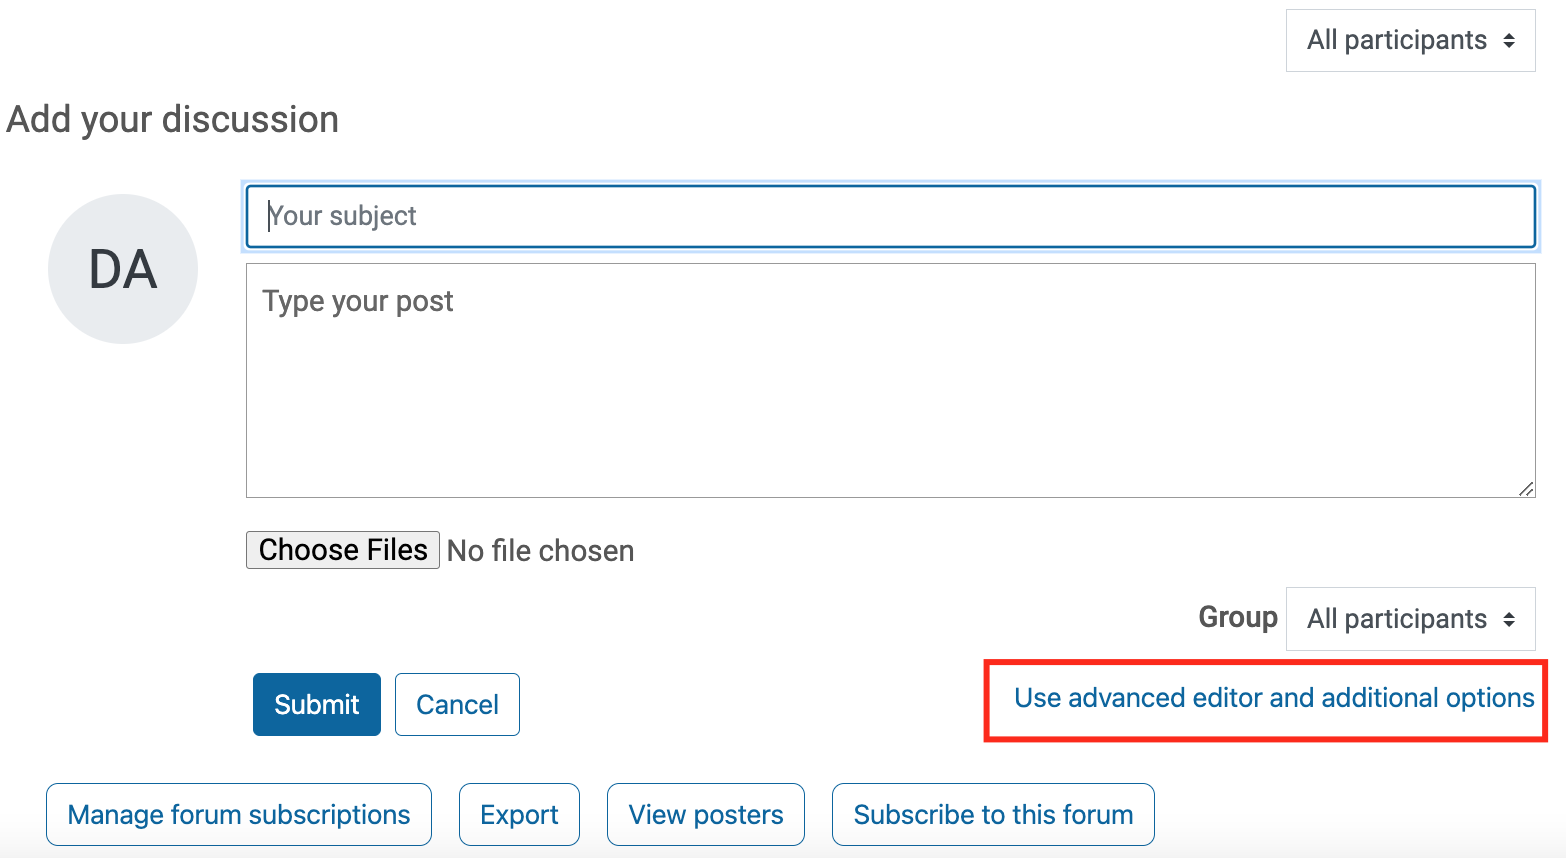
Step 3
Click Use advanced editor and additional options
Step 4
Click the Attachments upload area to pick a file
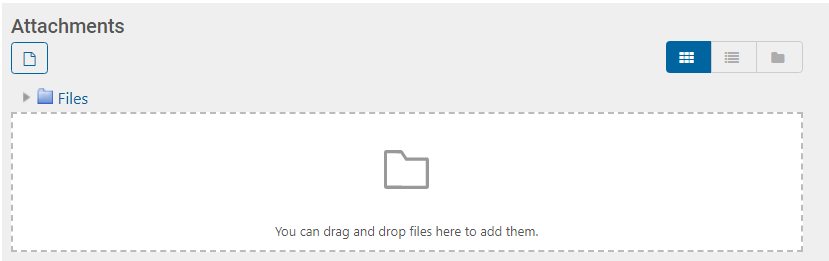
Step 5
Choose a file to upload from your local or cloud storage (e.g., Dropbox or OneDrive)
Step 6
Click Upload this File
Step 7
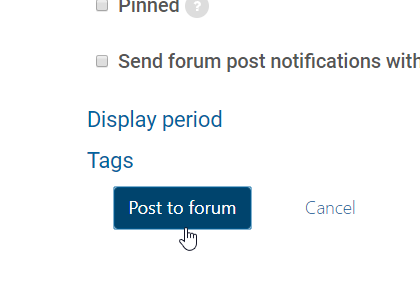
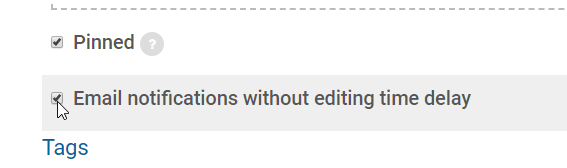
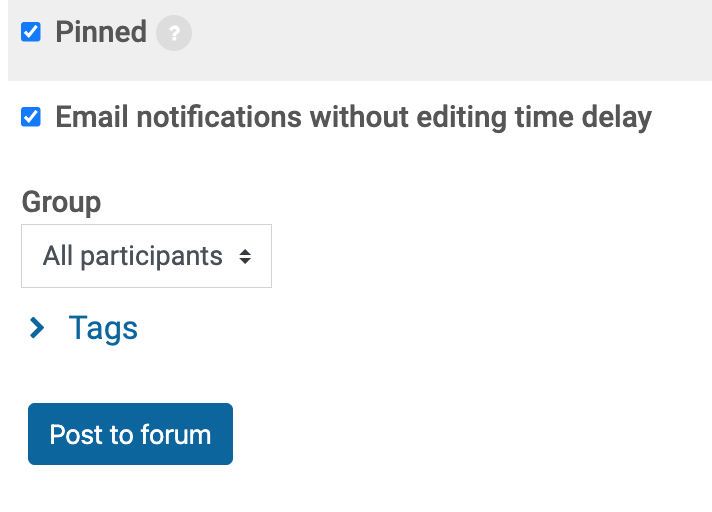
Check Pinned to keep the post with the file at the top of the page
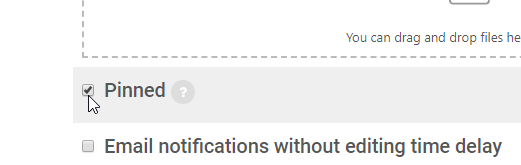
Step 8 (Optional)
To send a post immediately, click Email notifications without editing time delay
Step 9
Click Post to Forum
Step 10
Your post with the file will be pinned at the top