Logging into FreshService
Step 1
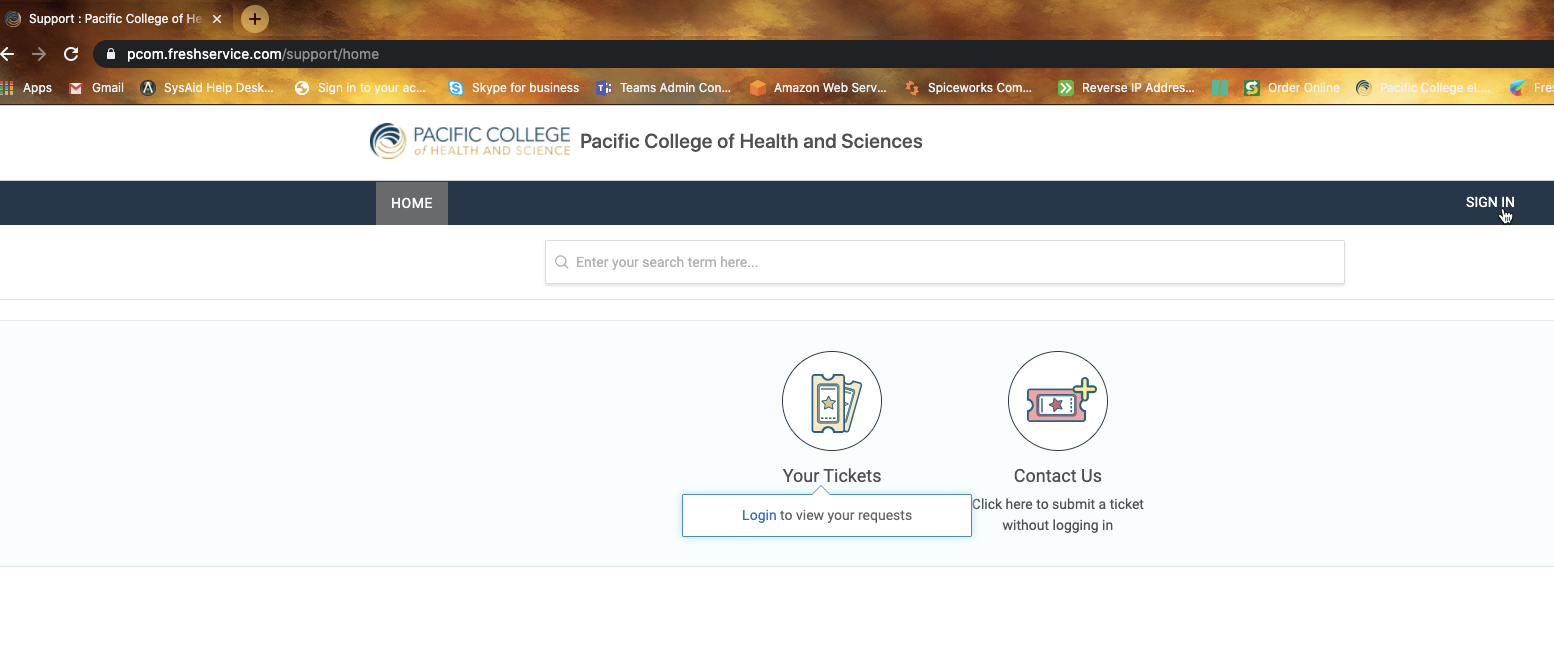
Go to the URL pcom.freshservice.com and then click Sign In
Step 2
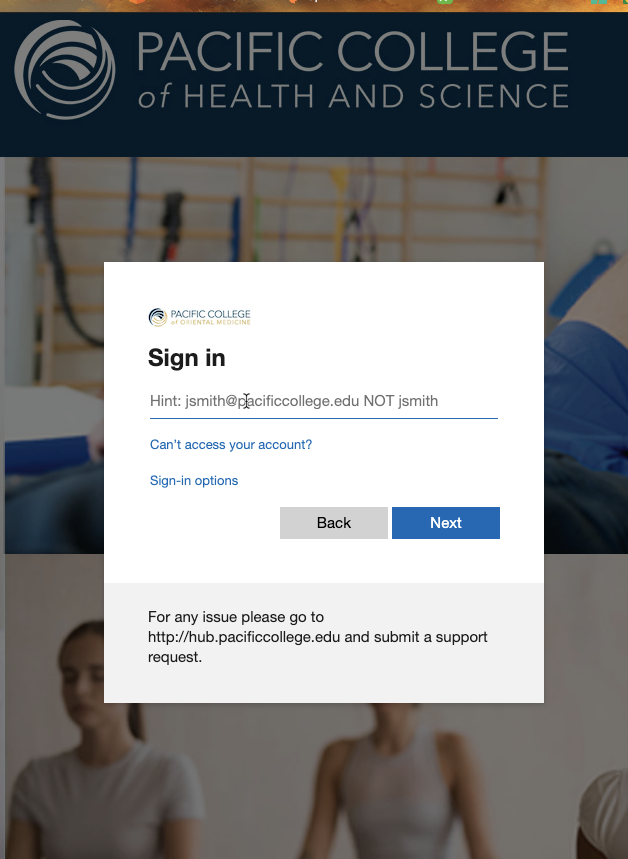
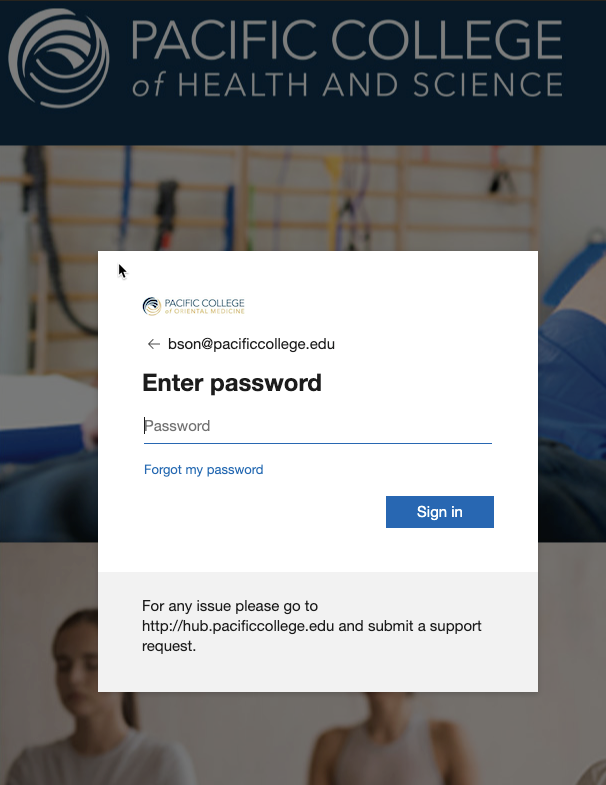
Sign in with your Pacific College account
Step 3
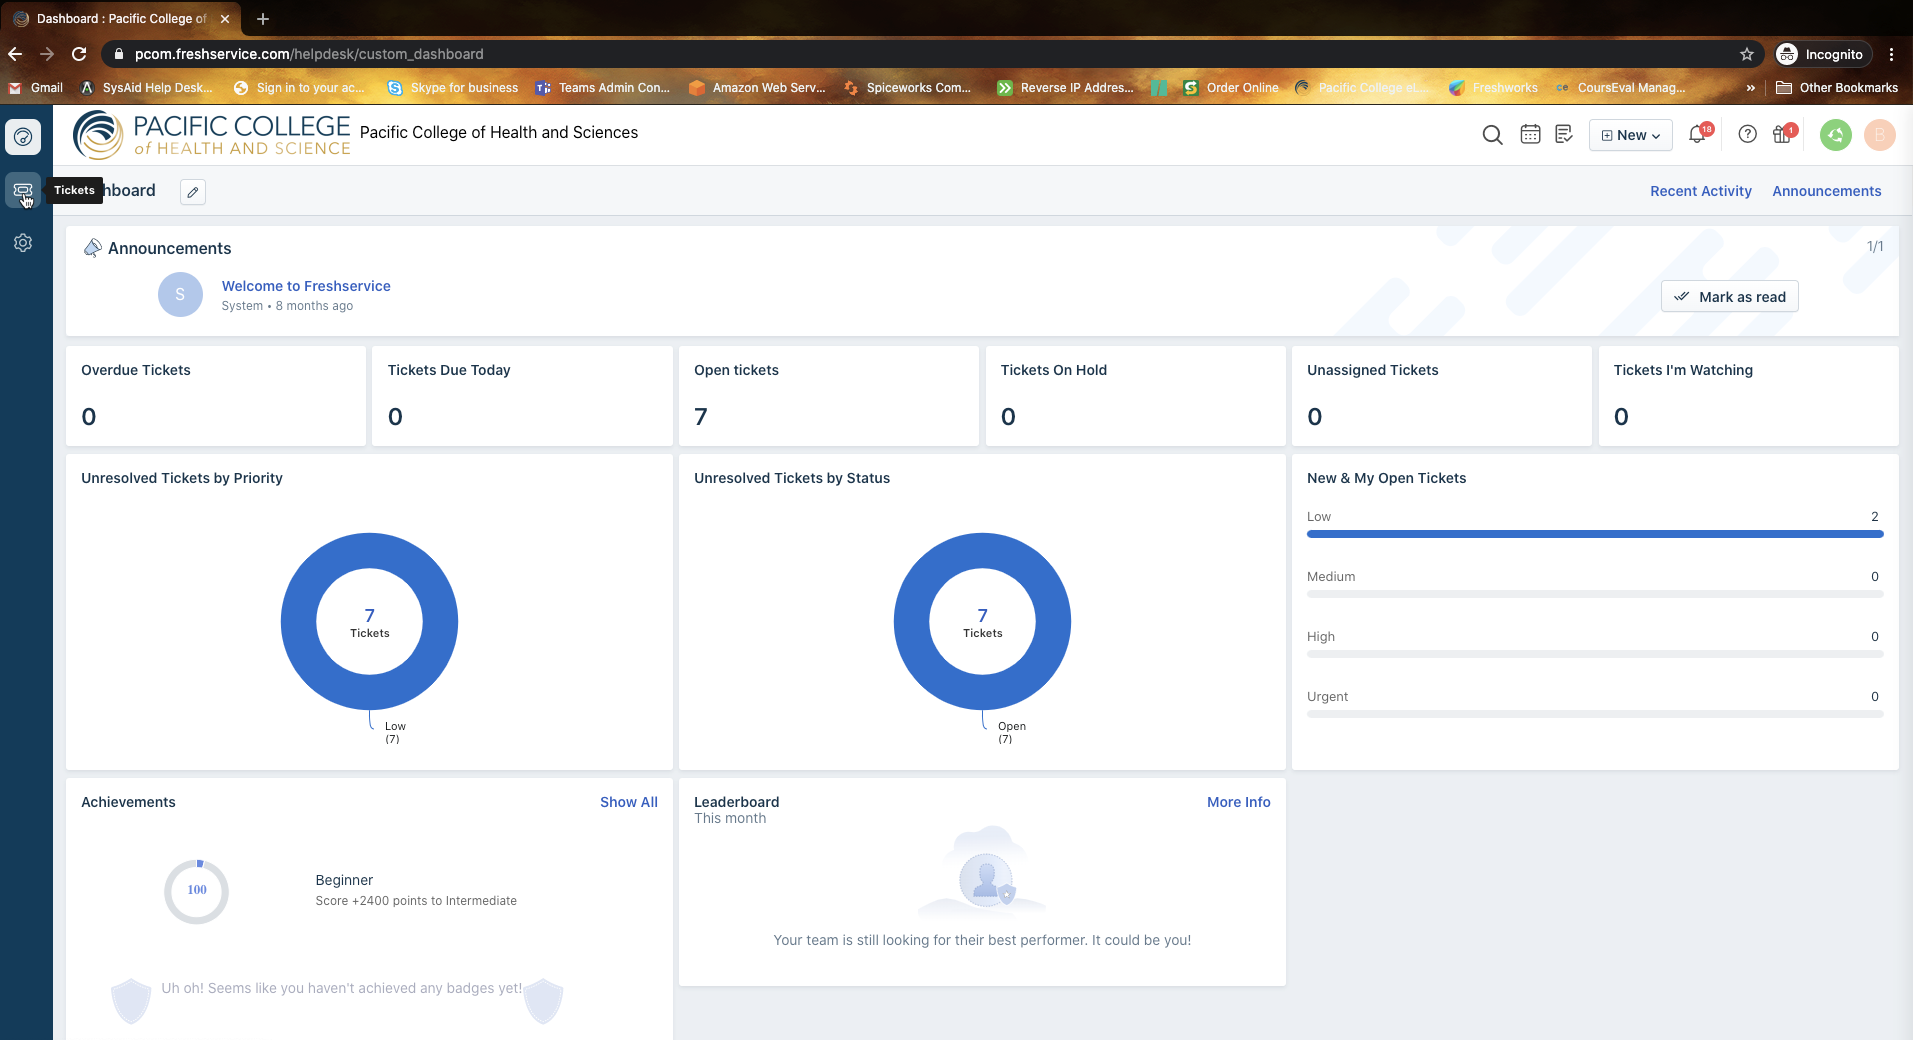
You are now signed into FreshService. Click on the ticket Icon to see your tickets.
Viewing a ticket
Step 1
Once you have logged in and clicked on the ticket icon. You will see your tickets. Click on the Subject in blue to open the ticket.

Step2
At the top of the ticket you will see the subject and the description that the user provided for the ticket. 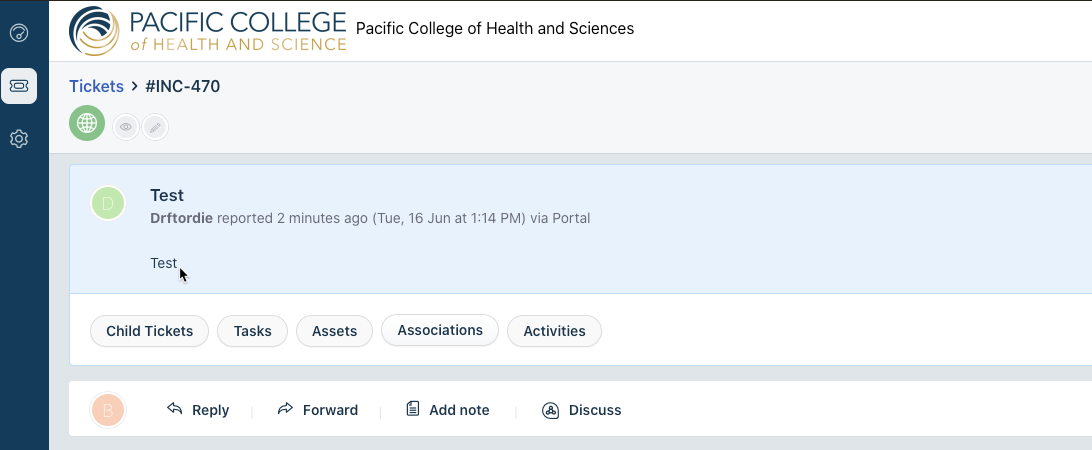
Step 3
On the right side of the screen you will see the Properties area. Scroll down and you will see the categories chosen by the user.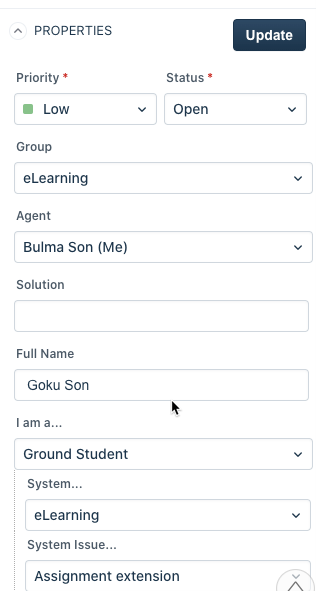
Step 4
If the categories chosen by the user require additional fields to be filled out. Continue to scroll down under the Properties area and you will see those additional required fields.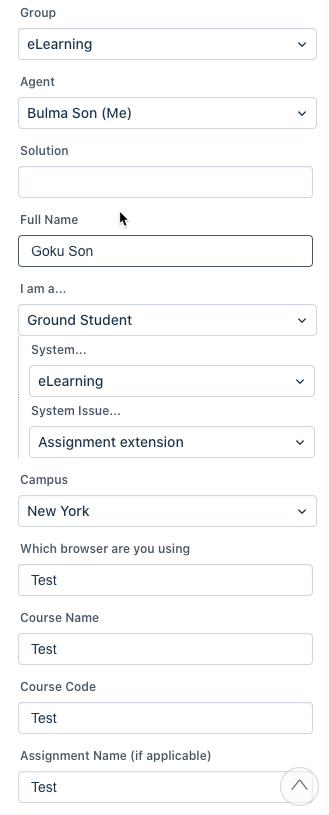
Replying to a ticket
Step 1
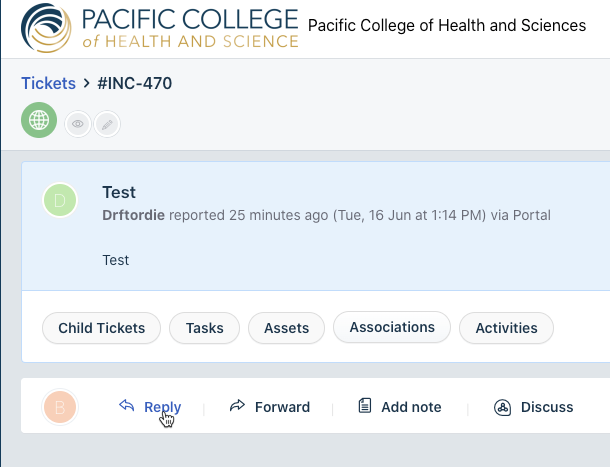
From within the ticket click on the Reply button
Step 2
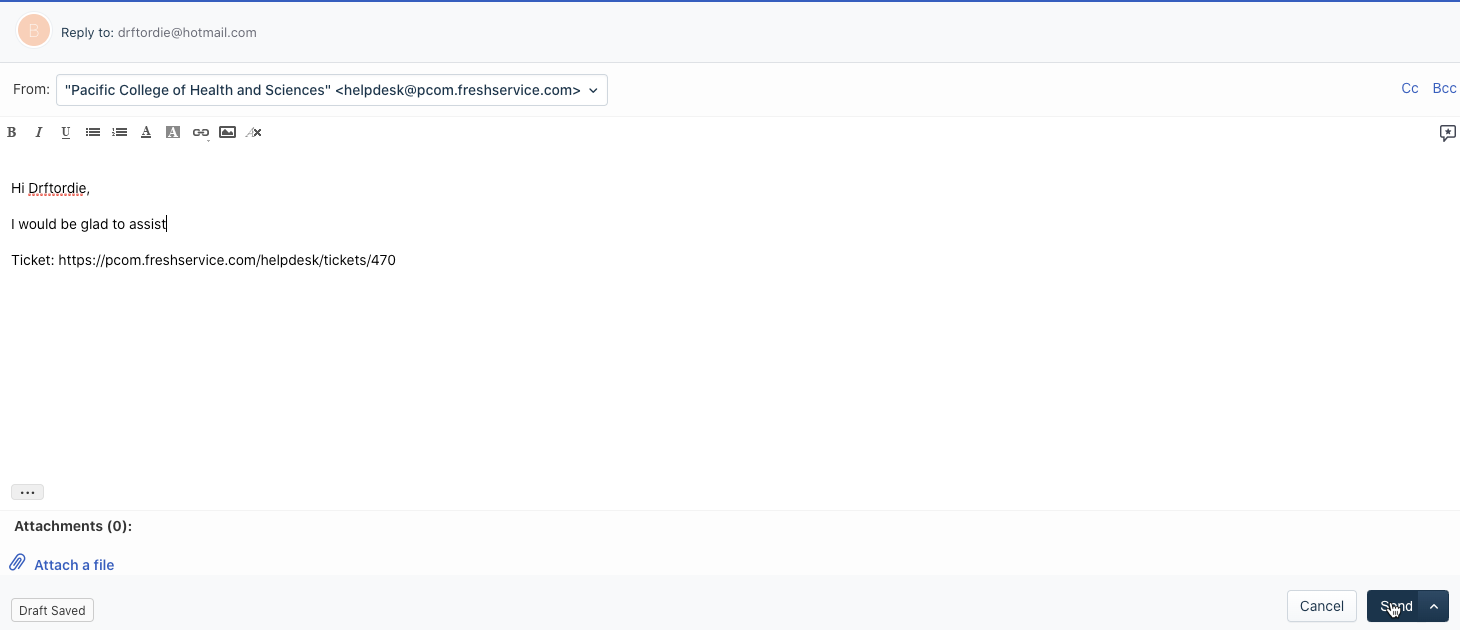
A box will appear, type in your response then click the Send button at the bottom right of the screen.
Step 3
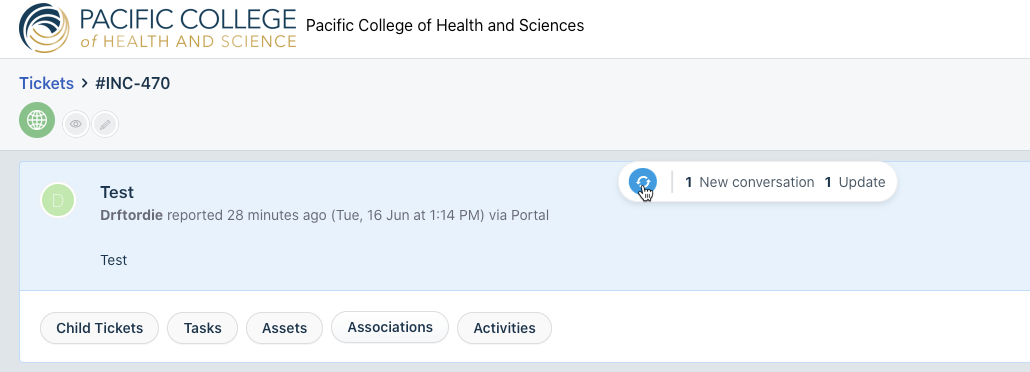
When the user responds to the ticket you will see the pop up on the screen below. Click on the refresh button to see the users response. You will also receive and email letting you know that the user responded to the ticket.
Step 4
You will now see the response from the user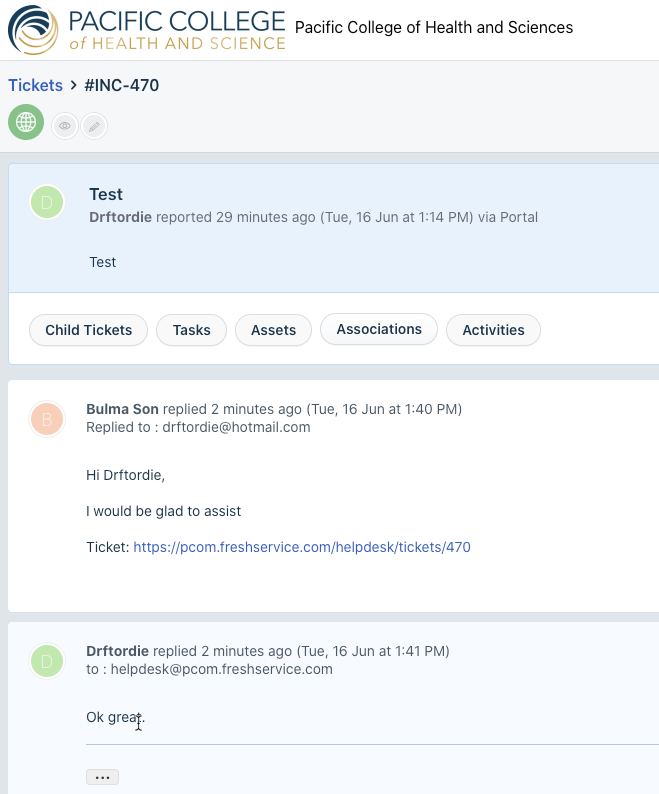
Closing a ticket
Step 1
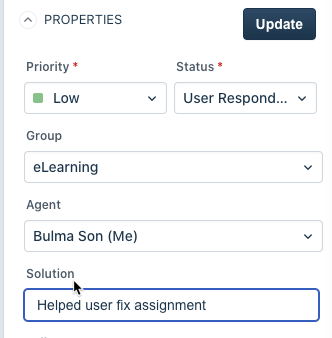
Once the user has confirmed that their issue has been resolved. Go to the Properties section on the right side of the ticket and fill in the solution in the Solution field. You must do this before you can change the status to Closed.
Step 2
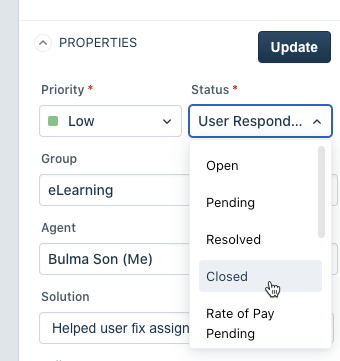
Now click the dropdown for the Status field and choose Closed. Then press the Update button
Setting your filters for viewing your tickets
Step 1
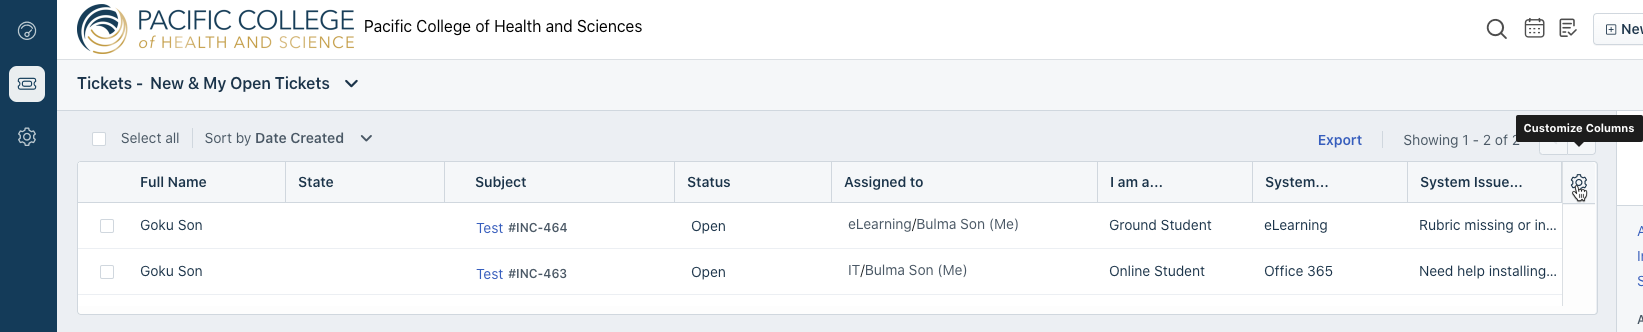
Log into FreshService then click on the ticket icon. After testing the system, I feel that the Table view is the best view to get a good since of what each ticket issue is before you open the ticket. But you can choose Card view if you would like. Table view is shown below.

This is how Card view looks. With Card view you lose the ability to set what fields where chosen by the user before you open the ticket.

Step 2
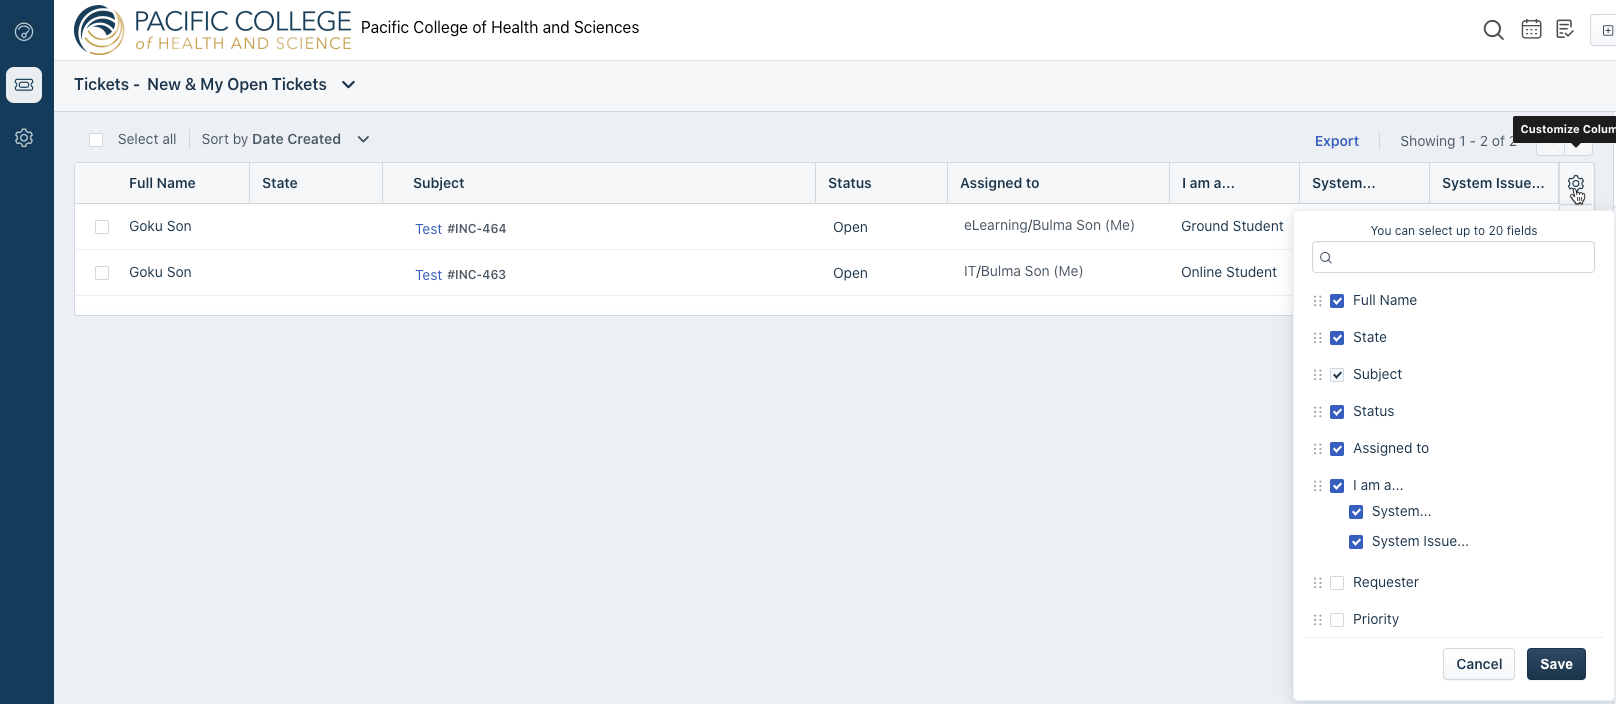
To set what fields you would like to see click on the Gear icon when in Table view. You cannot perform this if you are using Card view.
Step 3
Tick the box next to the fields you would like to see then click the Save button. I suggest you set the filters to the ones shown in the image below. As it shows the best fields needed to get a good sense of what the ticket issue will be before opening it.
How to see only active tickets
Step 1
Log into FreshService then click on the ticket icon. From this view, you can see the different filters you can set on the right side of the screen
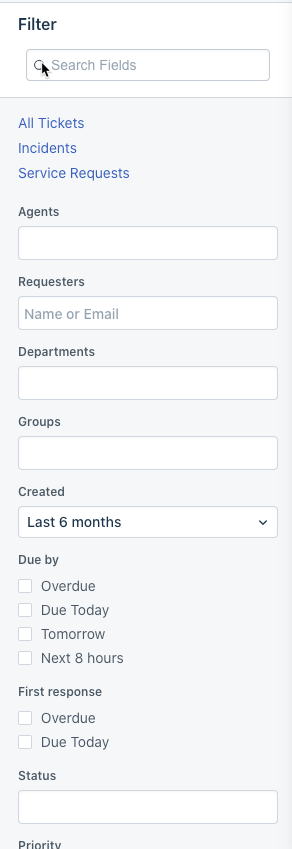
Step 2
Next click in the Status section on the right side and from the drop-down choose Open and then User Responded.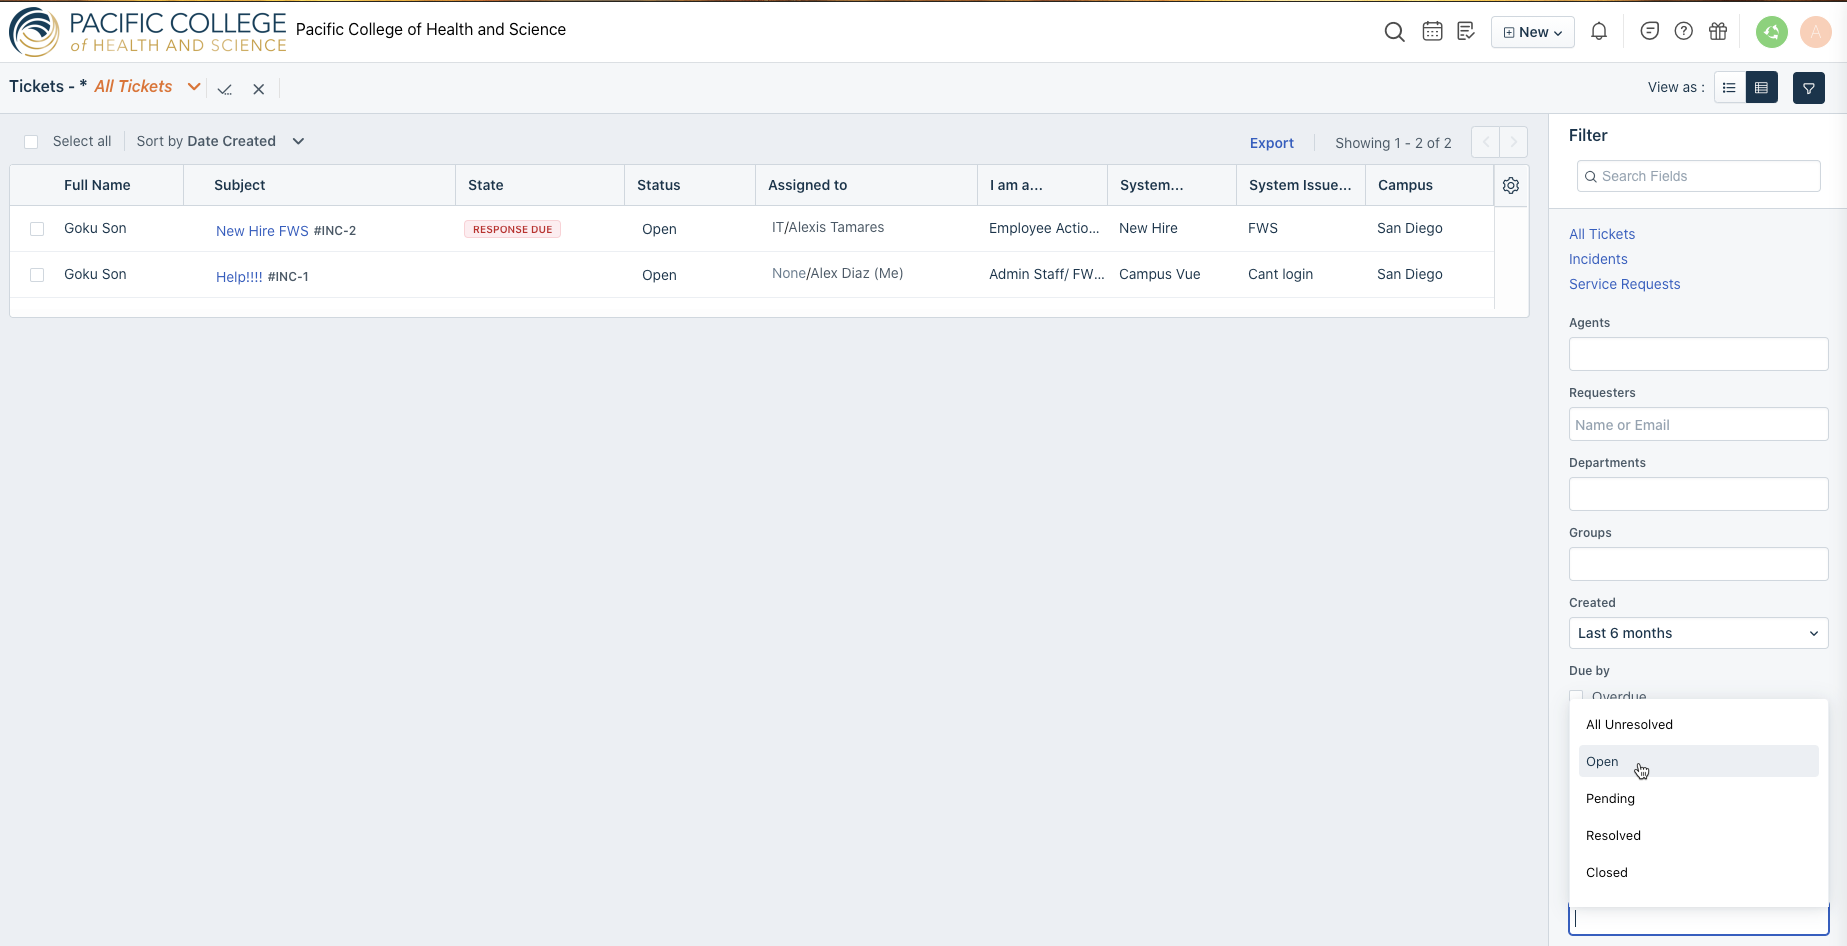
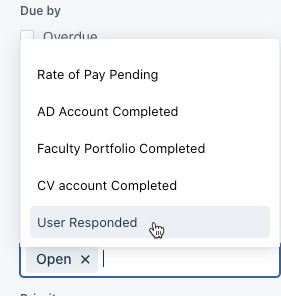
Step 3
Once this is done you will see Open and User Responded in the Status filter and you will now only see the active tickets
Setting Canned Responses
Canned Responses allow you too quickly respond to common questions.
Step 1
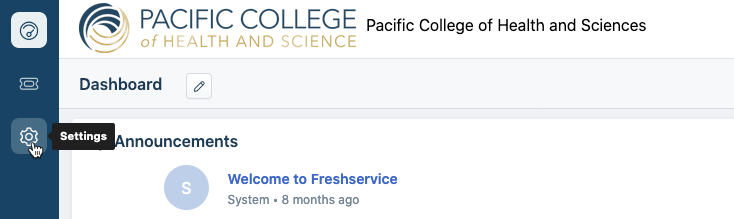
Login to FreshService then click the Gear icon on the left side of the screen
Step 2
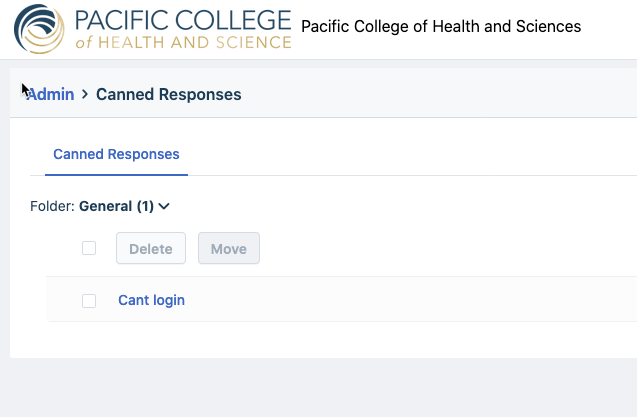
On the next screen choose Canned Responses.
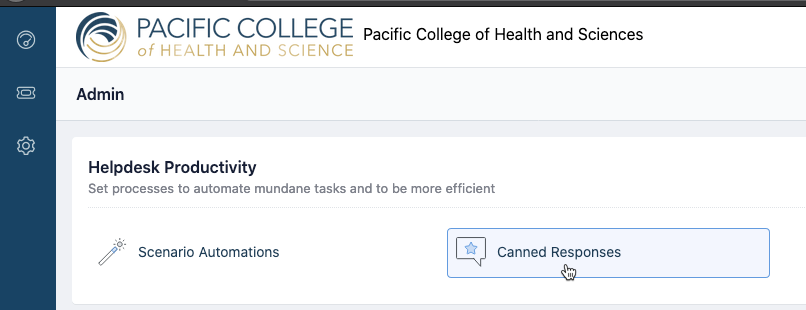
Step 3
Then choose New Canned Response

Step 4
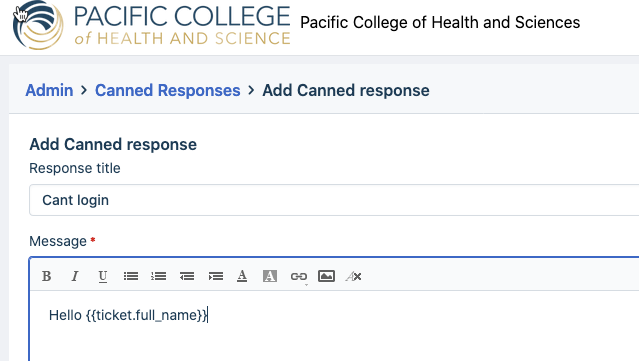
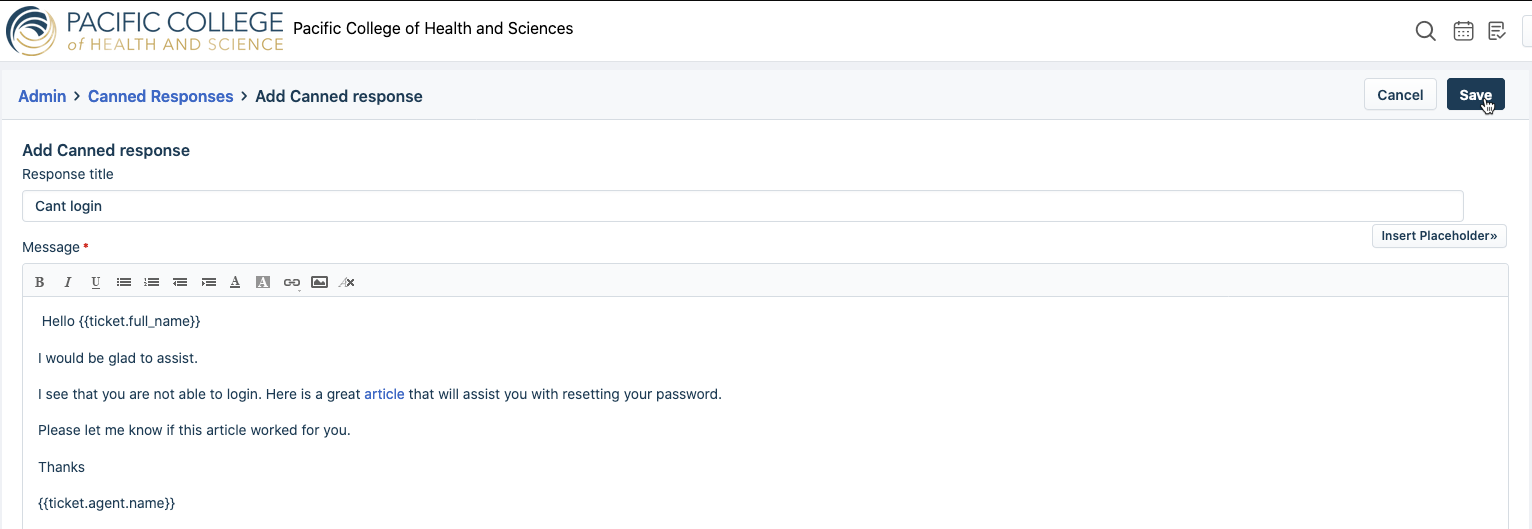
One great feature for canned responses is you can add information from the ticket without having to type it in manually by using Placeholders. Example below of adding the name of the user from the ticket

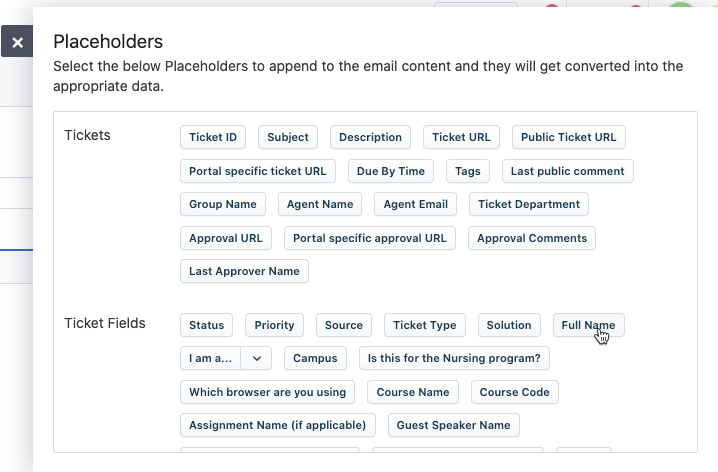
a) Putting this placeholder will put the name of the user from the ticket in the canned response automatically
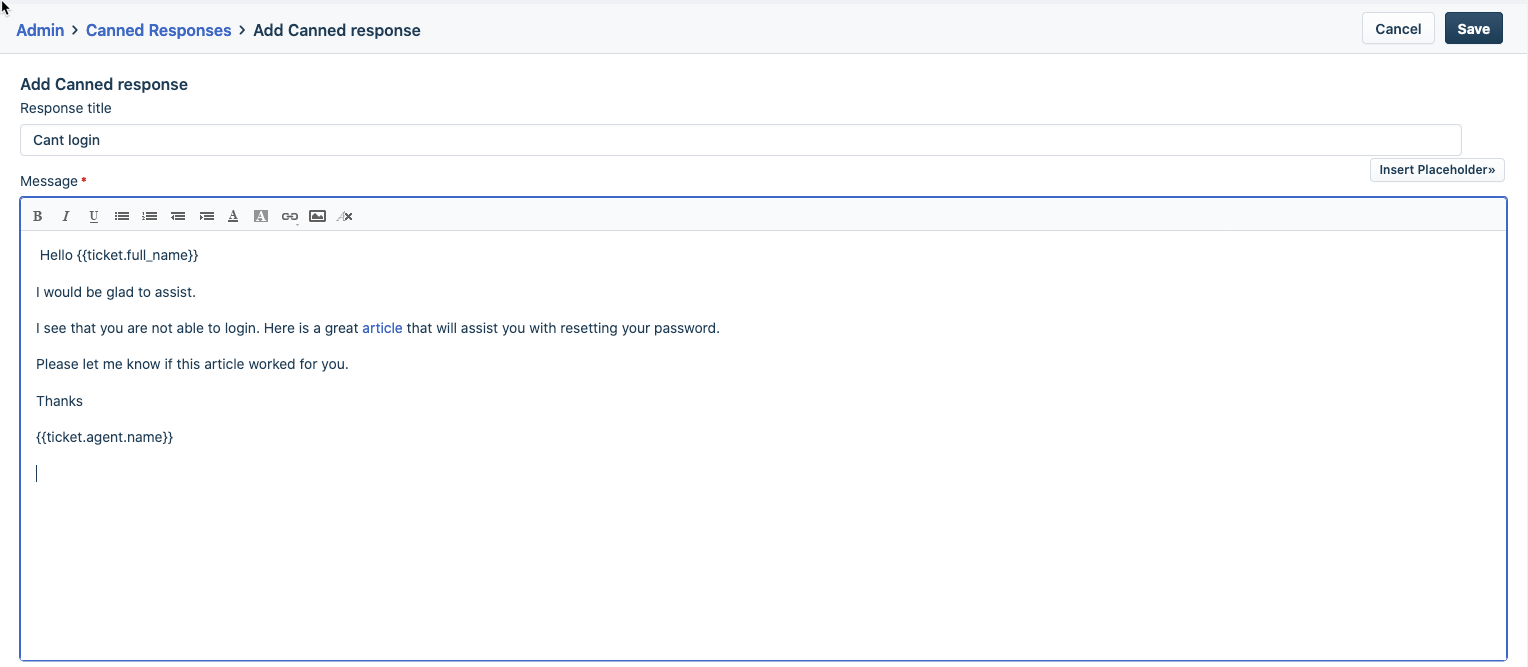
b) Here is an example of a completed canned response
Step 5
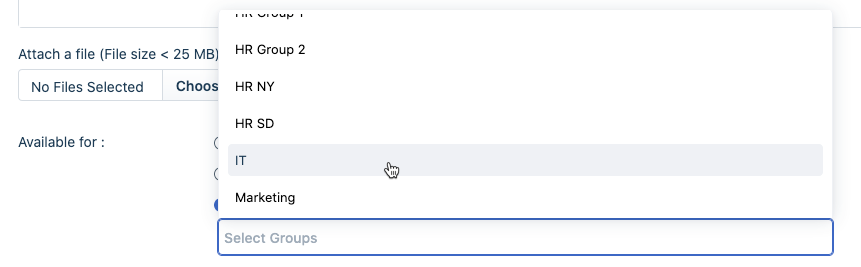
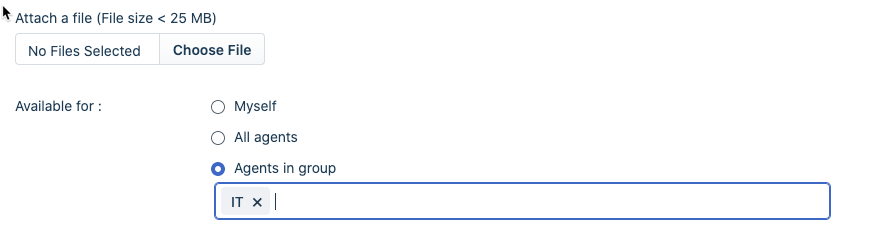
Choose who can see the canned response. If this is a canned response that the agents in your group can use, then choose Agents in group. Then choose the group

Step 6
Once you have completed the canned response then click Save.
Reassigning a ticket
Step 1
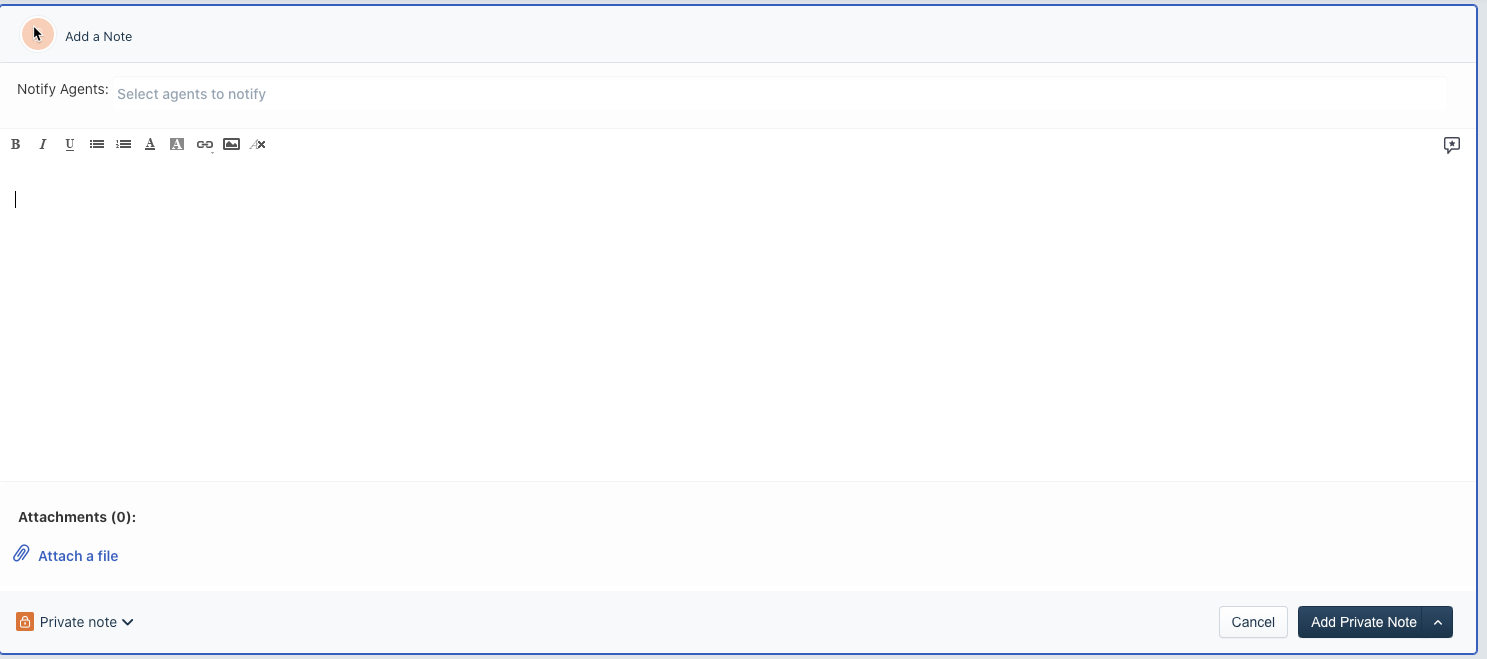
Before reassigning a ticket to another group or agent you must add a note to the ticket providing any useful information the new agent may need.

Step 2
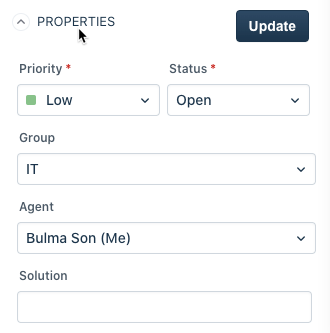
From within a ticket go to the Properties area on the right side of the ticket
Step 3
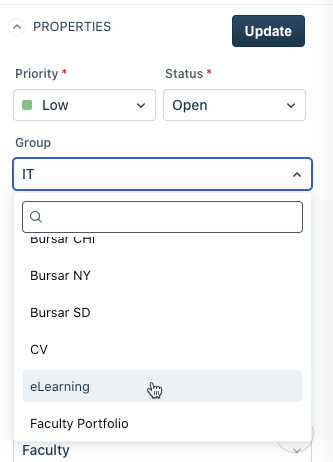
Click on the group dropdown and choose a group
Step 4
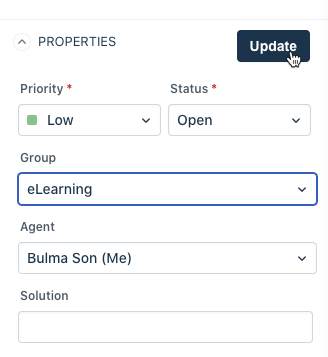
Once you have chosen a group click on the Update button
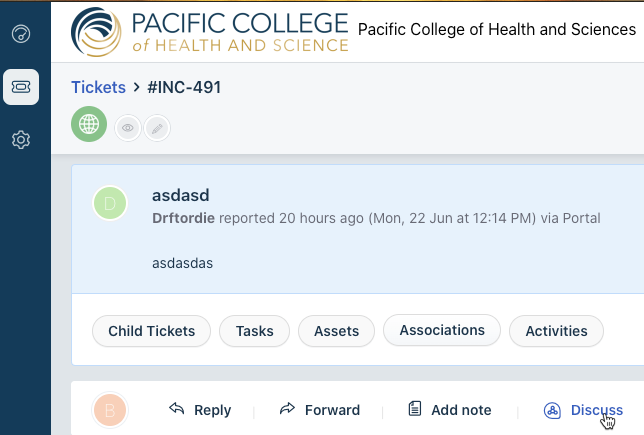
Using the Discuss feature
The Discuss feature in FreshService allows you to chat with your fellow agents, add multiple agents to a conversation and even share files related to a particular ticket.
Step 1
From within a ticket click on the Discuss button on the top right corner. Alternatively you can use the Discuss button on the menu bar below the ticket.

Step 2
Add your fellow agents using ‘@’. The autocomplete feature will help you quickly find the fellow agent you are looking for.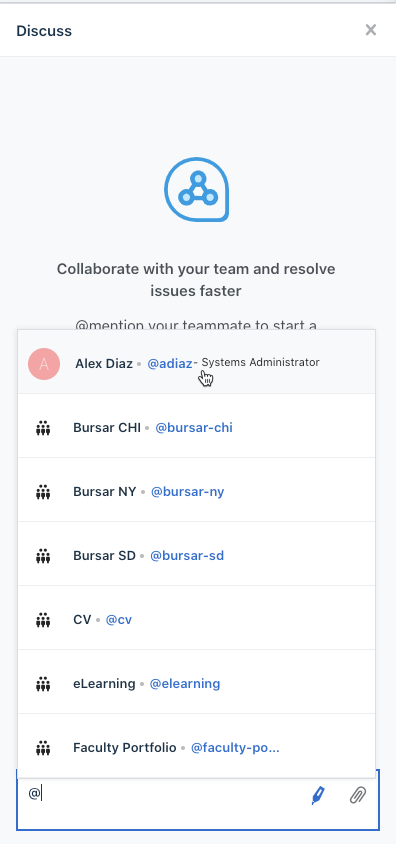
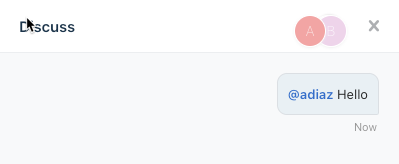
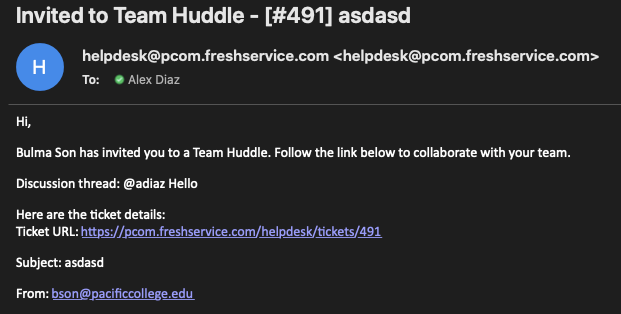
Step 3
Once you find the agent, select him/her and hit Enter. Now, the agent you added to the conversation will be notified through in-app and email notifications.
Setting up your Signature
Step 1
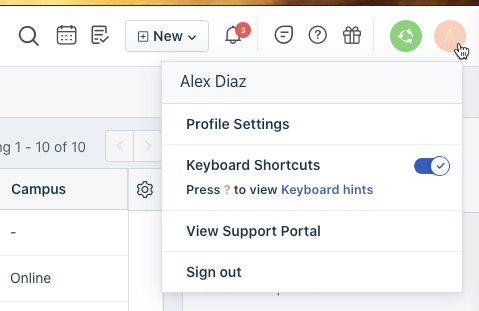
Log into FreshService. Then click on the icon at the top right with your initial on it then choose Profile Settings

Step 2
Scroll down to find your Signature. Fill in the signature box then click Update


Setting your TimeZone
Step 1
Log into FreshService. Then click on the icon at the top right with your initial on it then choose Profile Settings
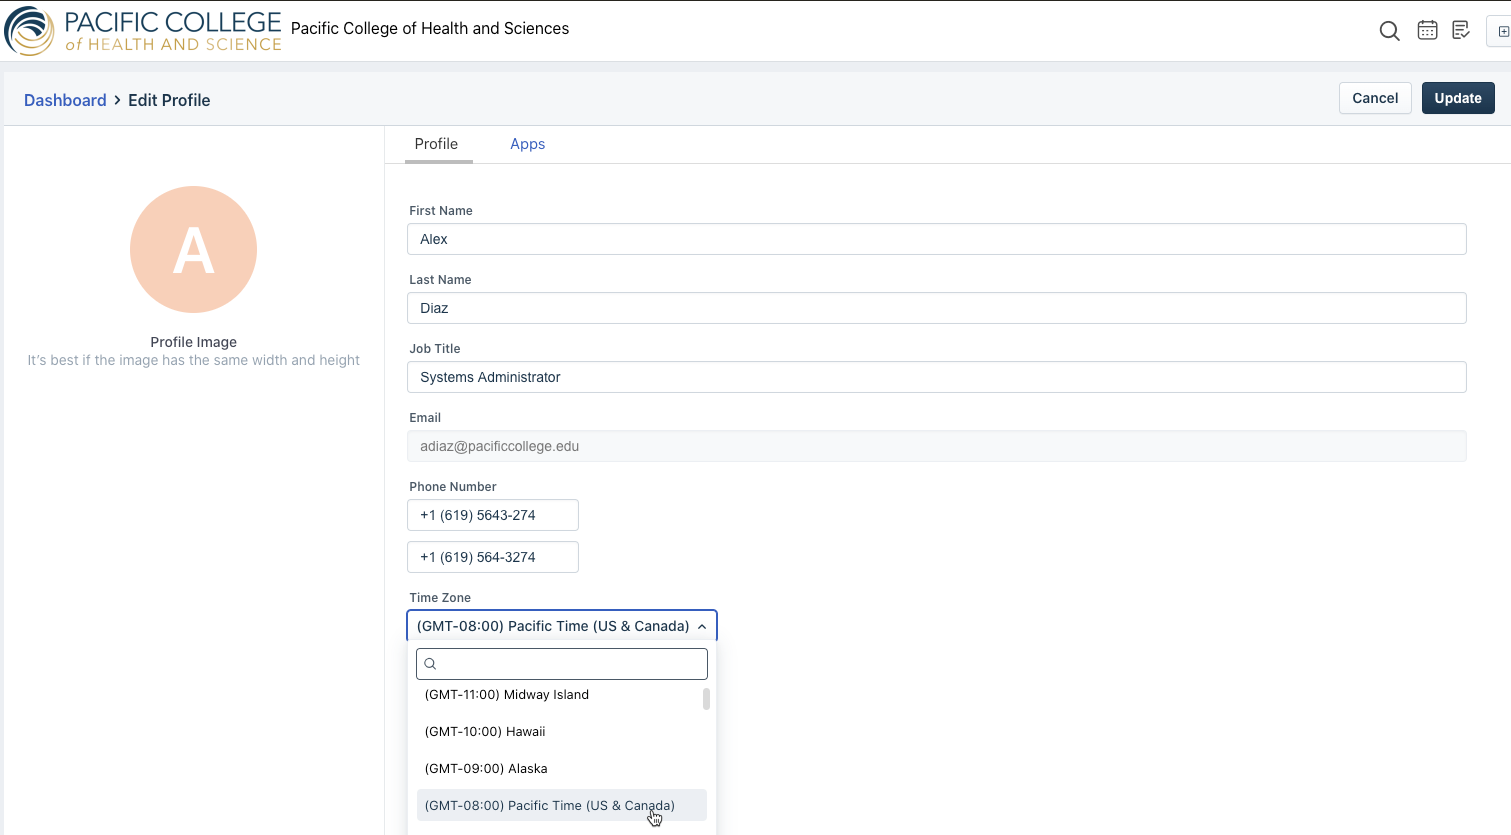
Step 2
Click on the TimeZone dropdown and choose your TimeZone then click Update