Spotlight the Speaker
The Zoom spotlight feature is great for keeping yourself in the video when you are presenting. When you put the spotlight on yourself the recording can be reused in teaching materials later, since students will not show up in the recording. Check out the article to learn how to spotlight yourself.
Please note that spotlighting only works in recordings that are saved to the cloud. Only faculty can save recordings to the cloud. Even if you give someone permission to record, that recording will then be local and possibly violate FERPA regardless of Spotlighting.
Download the Recording
Step 1
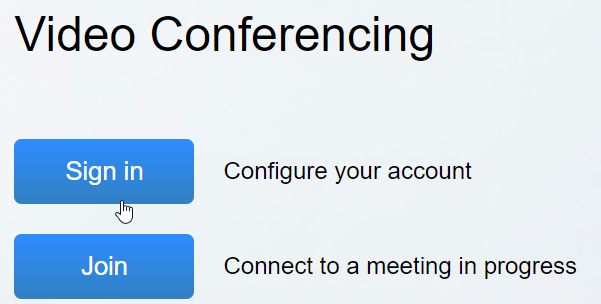
Go to https://pacificcollege.zoom.us/
Step 2
Click Sign In
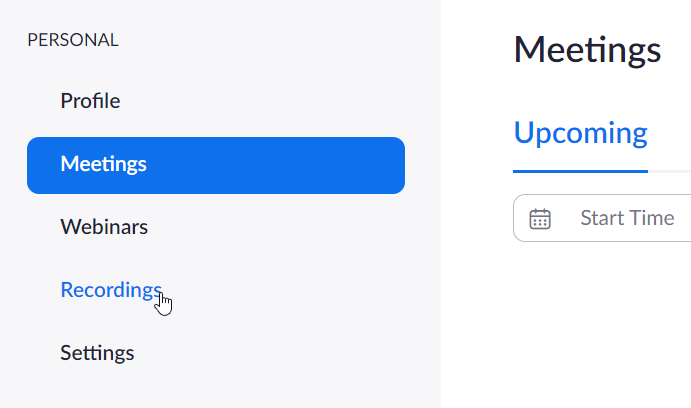
Step 3
Click Recordings
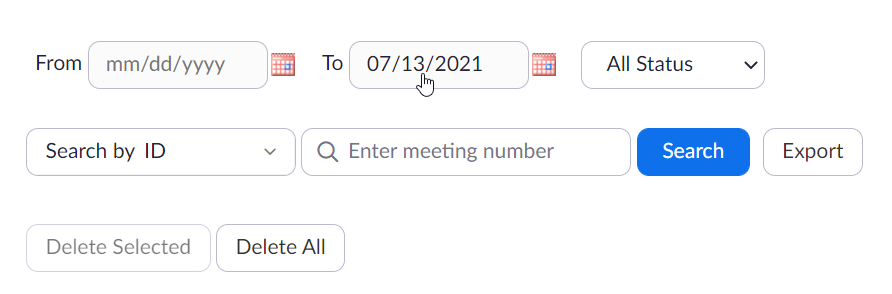
Step 4
Find your recording
Filter by date range, and/or topic and meeting ID
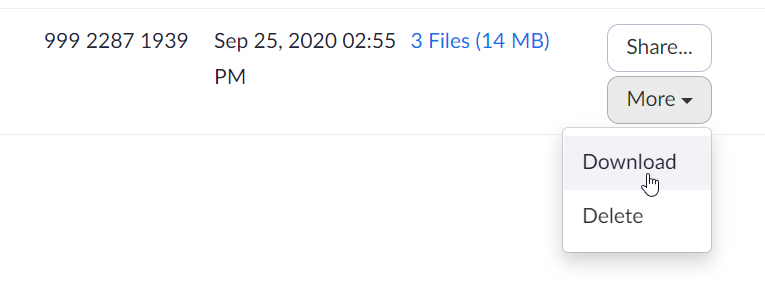
Step 5
Next to the recording, click More and Download
Step 6
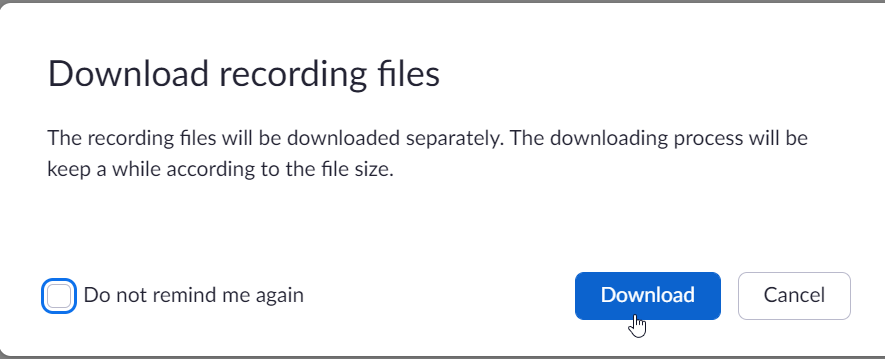
On the Download recording files pop-up dialog, click Download
Trim the Recording
Windows
You will find the video file (.mp4) in your downloads directory
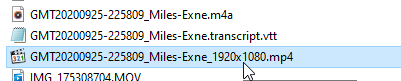
Learn how to find your Windows download folder in this Microsoft article.
The simplest tool to trim videos is the Photos program provided with Windows 10. Trimming is a straightforward function. Learn about this at How-To Geek.
Mac
You will find the video file (.mp4) in your downloads directory
Learn how to find your download folder in MacOS in this Apple article.
The best tool is the iMovie program on all Mac systems. Apple provides great instructions on how this is done.
Share on Microsoft Stream
Step 1
Go to https://stream.microsoft.com
Step 2
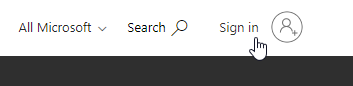
Click Sign in
Step 3
Click Upload video
Step 4
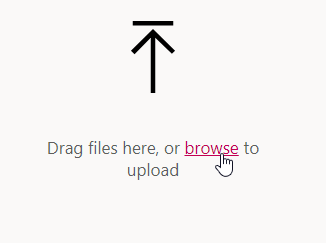
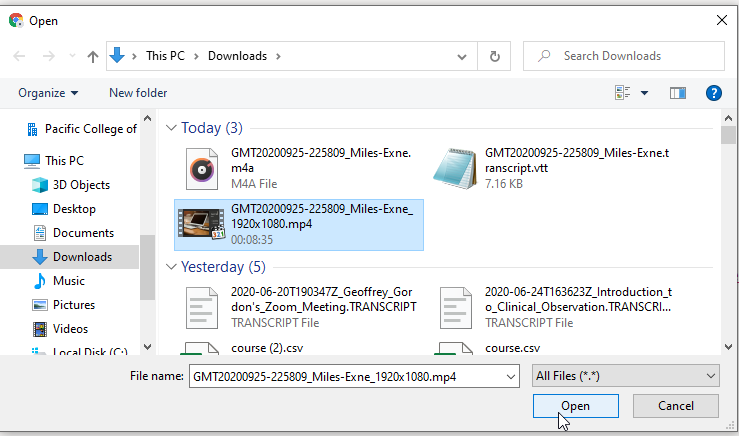
Click browse
Step 5
Step 6
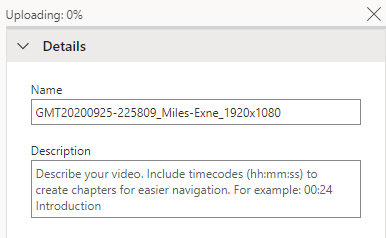
Your video will show that it is uploading and processing.
Step 7
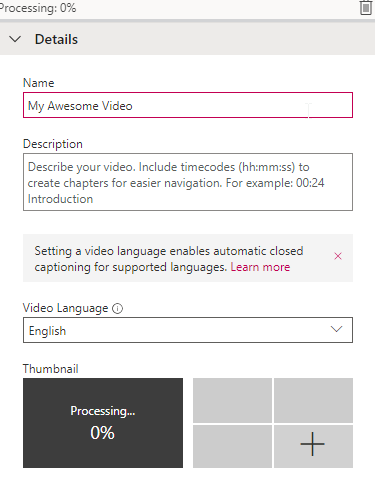
Name your video and optionally add a description. This and permissions can be set while the video is uploading and processing.
Step 8
Optional: Create a thumbnail for your video
In Details, click the plus under Thumbnail to add an image thumbnail

Step 9
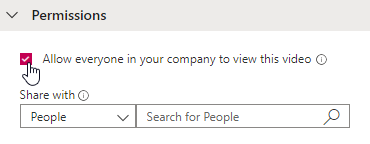
By default, everyone with a Pacific College login can see your video. You can turn off company wide access or select a specific group or user in the Permissions tab.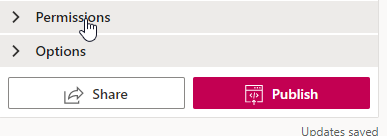
Step 10
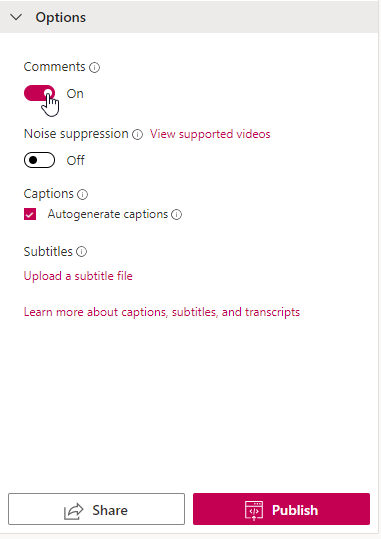
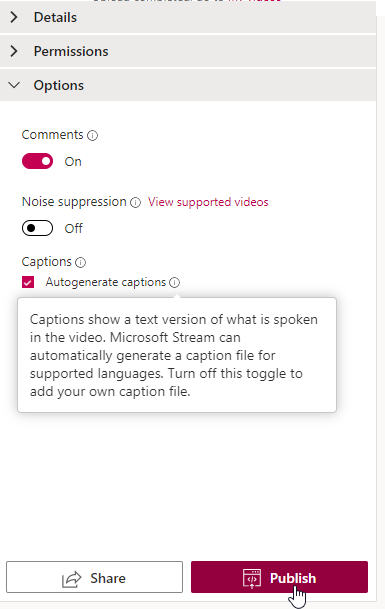
Comments are on by default. Turn them off by unchecking the box under the Options tab.
Step 11
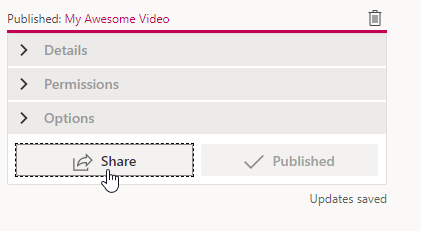
Click Publish
Step 12
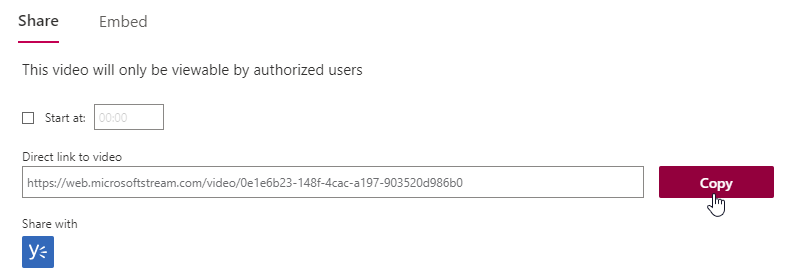
For sharing, click Share.
Step 13
To send the link, click Copy and paste the link in a message
Step 14
To embed the video in a course, click the Embed tab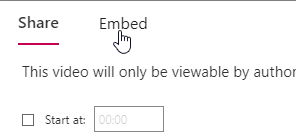 Click Responsive
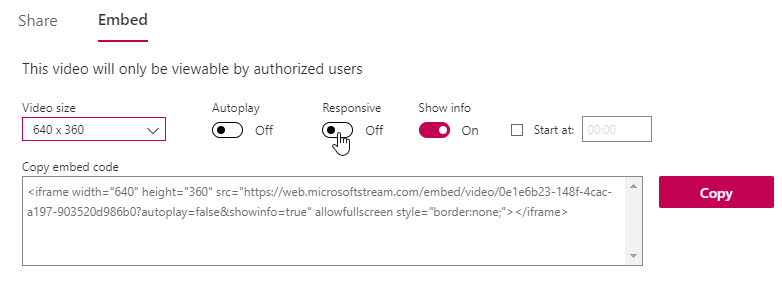
Click Copy
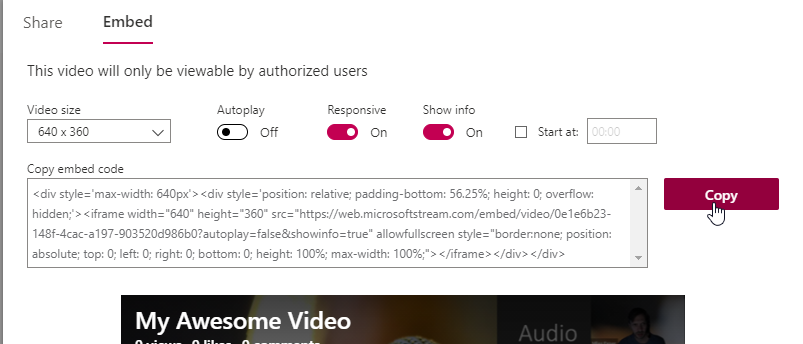
Finally, paste the embed into the HTML code section of a Page resource in Moodle