
-
Evaluation Period
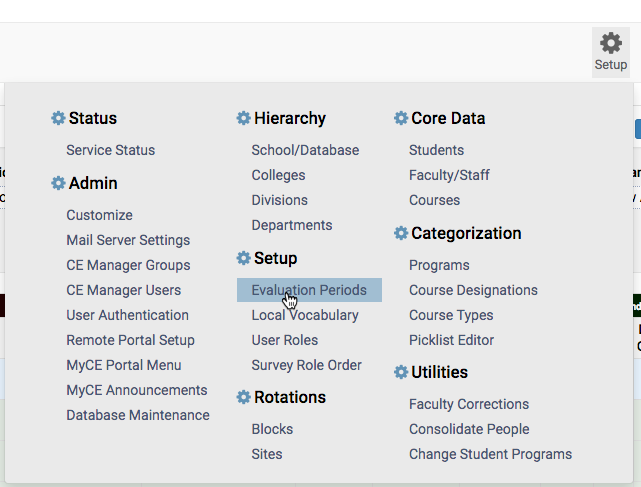
- Create the Evaluation Period by clicking on Setup then Evaluation Periods
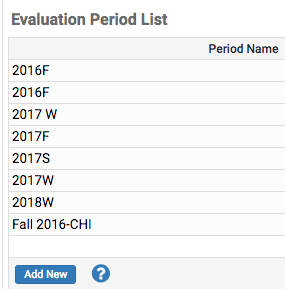
- On the next screen click Add New
-
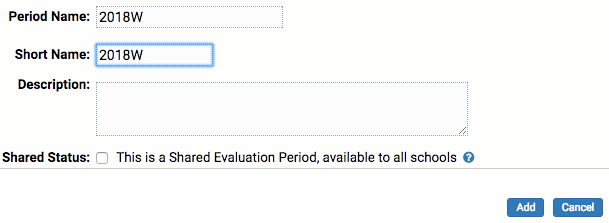
On the next screen enter in the Period Name and Short Name with the same evaluation period, put a check mark after Shared Status: then click Add
- Create the Evaluation Period by clicking on Setup then Evaluation Periods
-
Create Survey
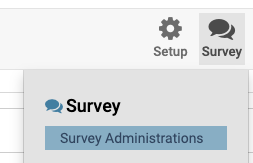
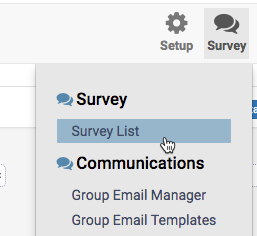
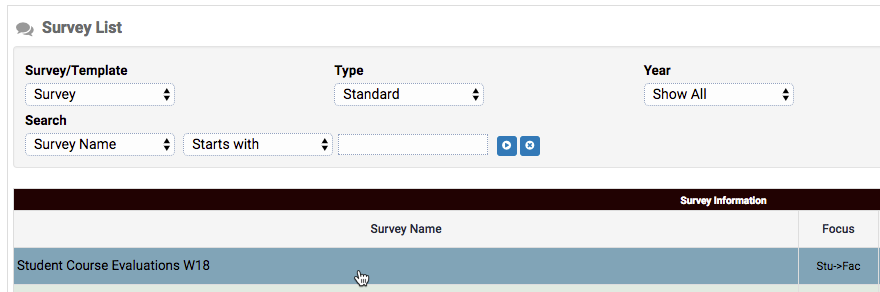
- Next you need to create the survey do this by first going to Survey and then Survey Administrations
- On the next screen click New Standard Survey Administrations
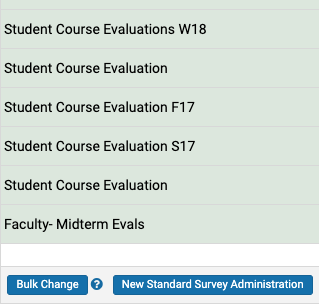
- On the next screen you need to enter in the new surveys info. For the name please put “Student Course Evaluations” then the Eval Period you created above see below as example

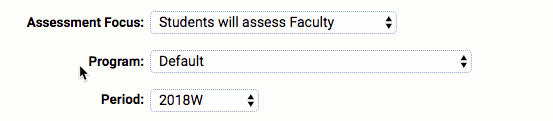
- In the Assessment Focus leave it as Students will assess Faculty. Then change the program to Default and for period section choose the evaluation period you create in step 1
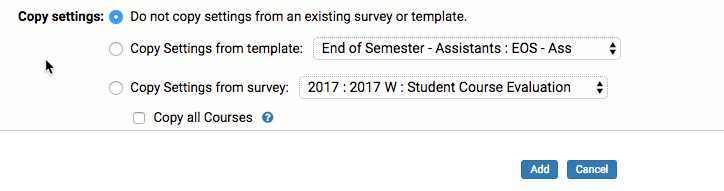
- For the copy settings leave them alone and then click Add
-
Now you must follow the above steps for each campus
- Next you need to create the survey do this by first going to Survey and then Survey Administrations
-
Selecting Questions for new Survey
- Now we need to select the questions that will be used for the survey. To do this start by clicking on Survey and then Survey Administration
- Next within the same survey you just created click on the chat bubble with the 3 dots under the Select Q’s area

- On the next screen click on the Student Course Evaluation_Updated18 tick box and then click View Questions

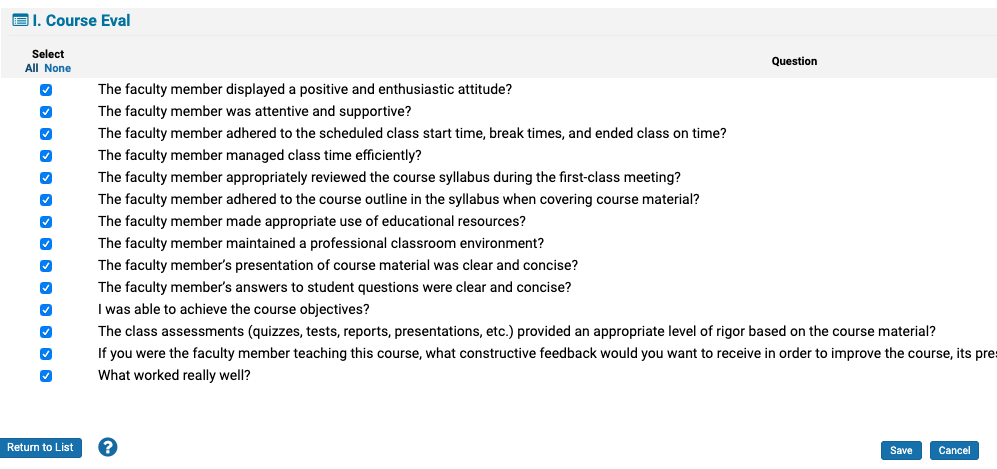
- On the next screen tick the boxes for each question or click the All button under the Select then hit Save
-
Now you must follow the above steps for each campuses survey
- Now we need to select the questions that will be used for the survey. To do this start by clicking on Survey and then Survey Administration
-
Import Faculty List
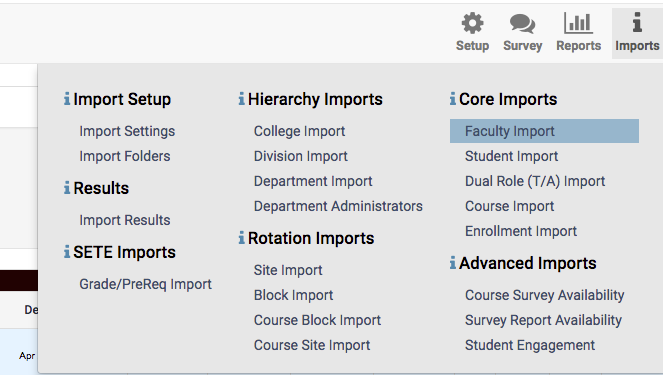
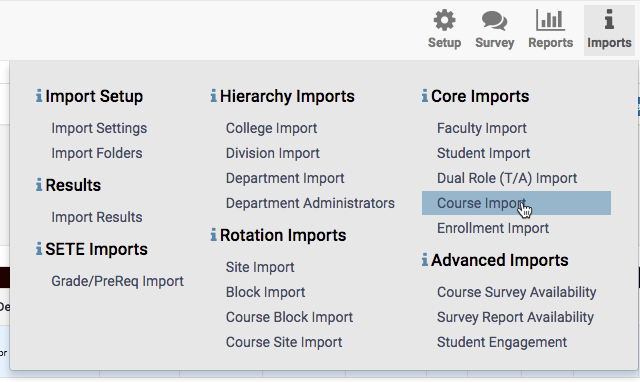
Next, we need to import the CSV with Faculty data. Please remember to make sure of which database you are in as stated at the beginning of this document. For this example, we are in the Chicago database- First click on the Imports icon and then choose Faculty import
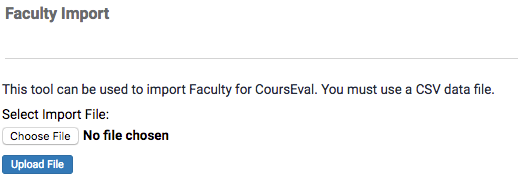
- On the next screen click the Choose File button
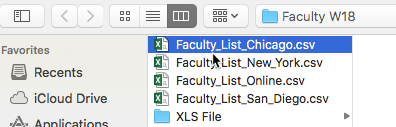
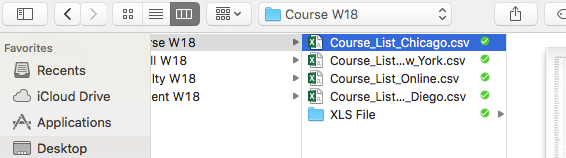
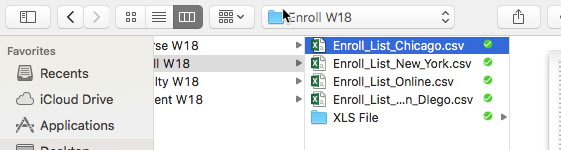
- Next choose the correct CSV for Faculty Data then hit Open
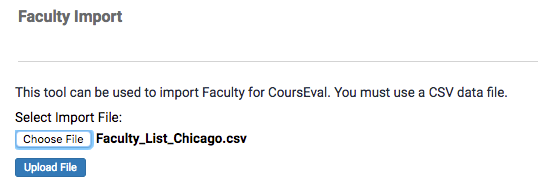
- On the next screen again ensure you have the correct file and then click Upload File
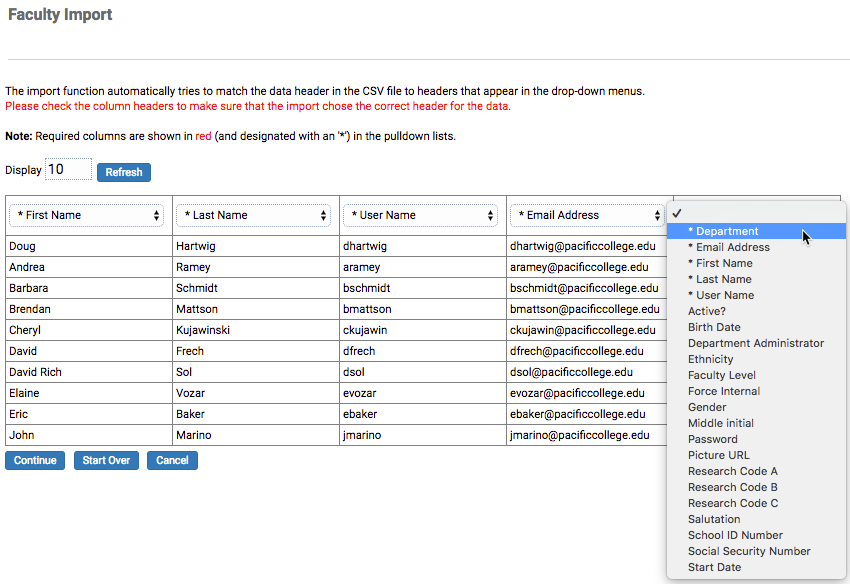
- On the next screen most of the fields should automatically fill in. The last one will not auto fill for this field please choose Department from the drop down then click Continue
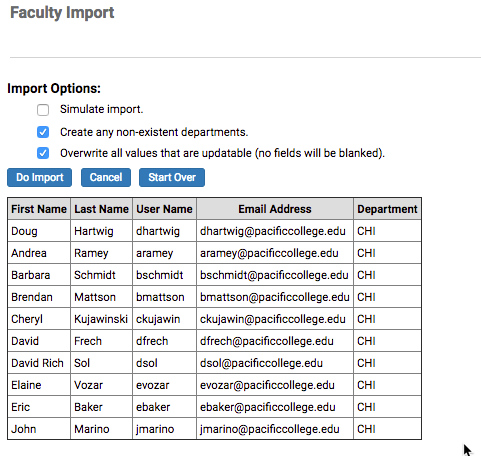
- On the next screen you will see that data that has been imported. If you want to first test the import before you import it into the live environment, you can tick the Simulate import button then click the Do Import button. Doing this helps you see any errors or warnings that you may want to fix before importing the data officially. Once you have fixed any errors you can go through the steps above again and then just click Do Import button at this point
- Once you have tested the import you will see the screen below. This page may be longer and possibly contain errors. I cannot go over every single issue in this document.
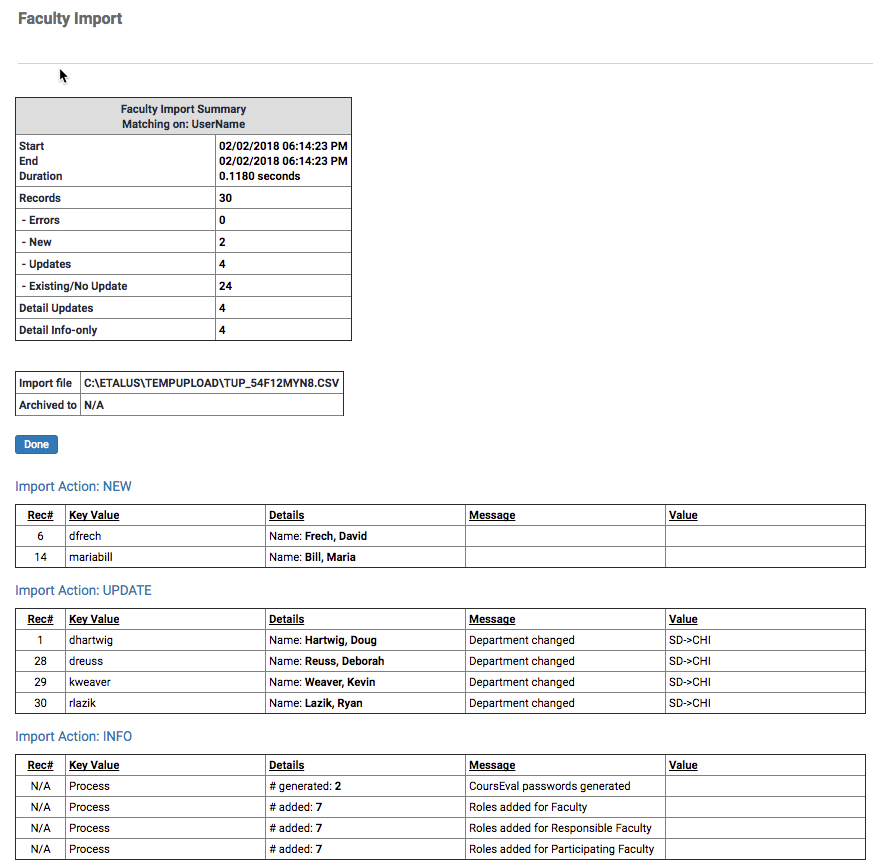
- If there are no errors and everything looks good, you can click on Done
- First click on the Imports icon and then choose Faculty import
-
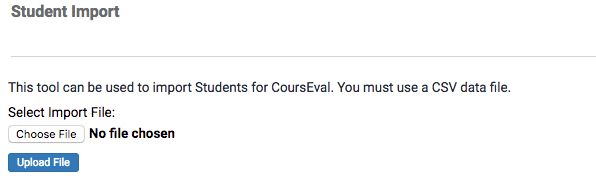
Import Student List
Next, we need to import the CSV with Student data. Please remember to make sure of which database you are in as stated at the beginning of this document. For this example, we are in the Chicago database
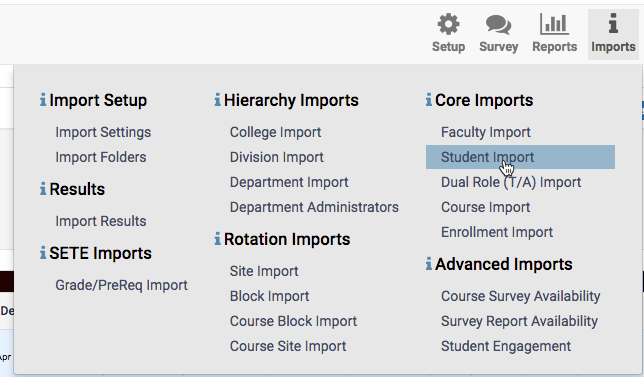
- First click on Import and then click on Student Import
- On the next screen click Choose File
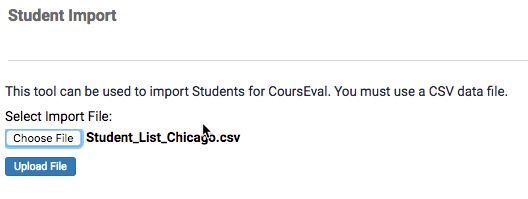
- Make sure you choose the correct CSV for the student list then click Open
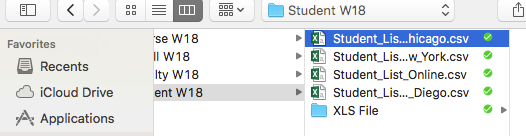
- On the next screen again ensure you have choose then correct CSV then click Upload File
- On the next screen you will again see that some of the fields have been automatically filled in and 1 that has not. Click the drop down and choose Student ID Number for the blank field then click Continue

- On the next screen again, you can test the import first if you would like by clicking the Simulate import box and then click the Do Import button. Doing this helps you see any errors or warnings that you may want to fix before importing the data officially. Once you have fixed any errors you can go through the steps above again and then just click Do Import button at this point
- If there are no errors and everything looks good, you can click on Done
- First click on Import and then click on Student Import
-
Import Course List
Next, we need to import the CSV with Course data. Please remember to make sure of which database you are in as stated at the beginning of this document. For this example, we are in the Chicago database- First click on Import then click Course Import
- On the next screen select Choose File

- Make sure you choose the correct CSV for the student list then click Open
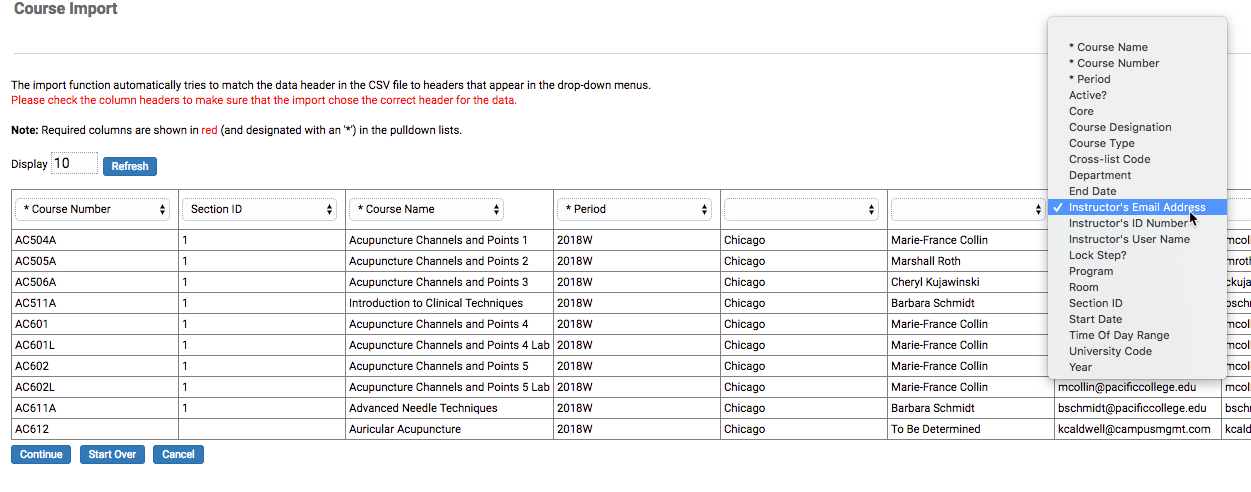
- On the next page you will see some of the fields are auto populated. The only other field you need to populate is the Instructors Email Address then hit Continue
- On the next screen again, you can test the import first if you would like by clicking the Simulate import box and then click the Do Import button. Doing this helps you see any errors or warnings that you may want to fix before importing the data officially. Once you have fix any errors you can go through the steps above again and then just click Do Import button at this point
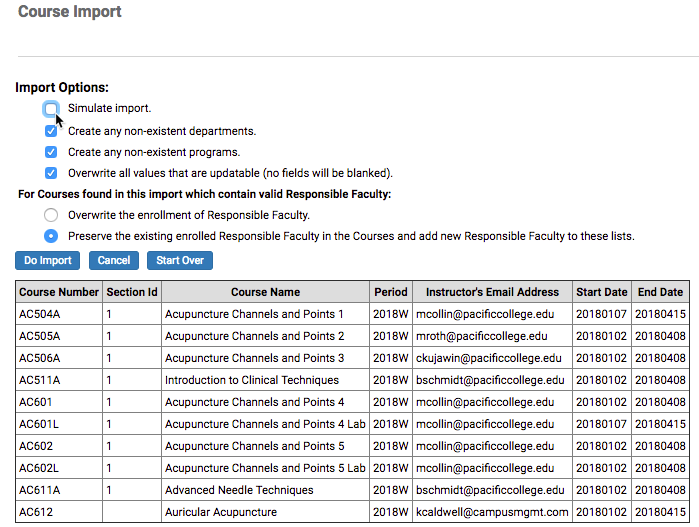
- If all is good on the next screen you can just click Done
- First click on Import then click Course Import
-
Import Enrollment Data
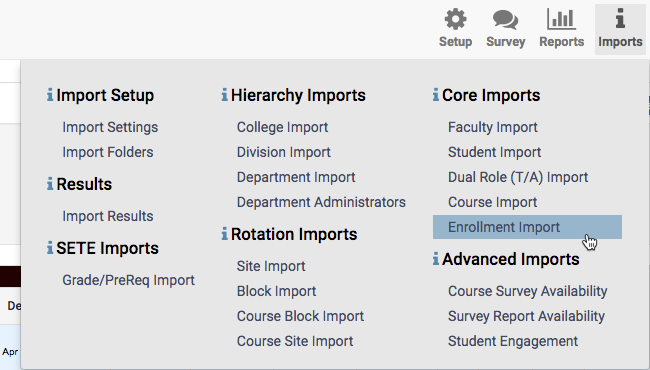
- Click on Import then click on Enrollment Import
- On the next screen select Choose File

- Make sure you choose the correct CSV for the student list then click Open
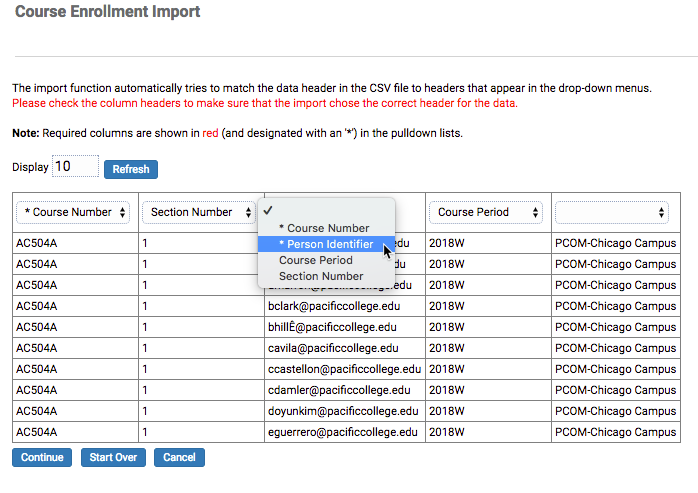
- On the next page you will see some of the fields are auto populated. The only other field you need to populate is the Person Identifier then hit Continue
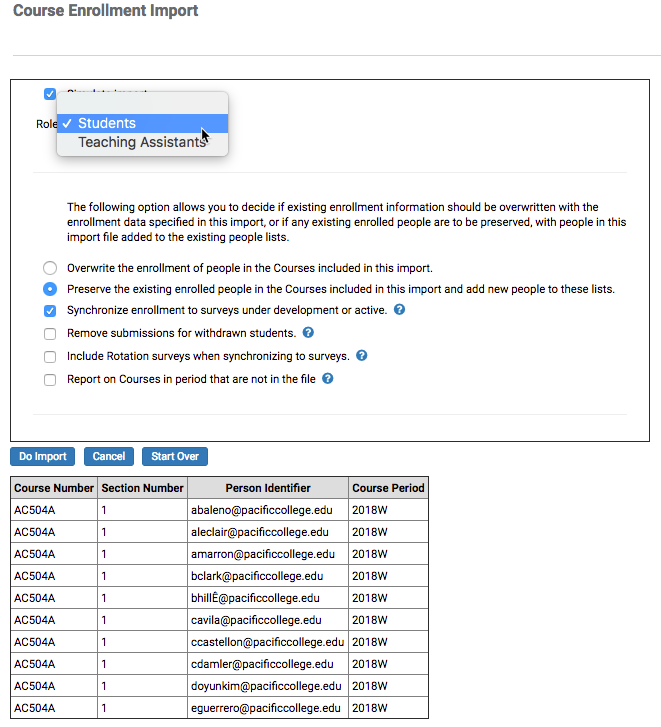
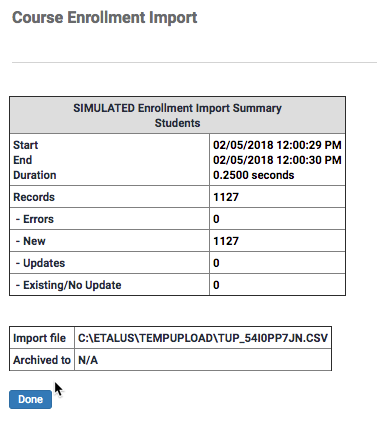
- On the next screen you must set the Role to Students. You can test the import first if you would like by clicking the Simulate import box and then click the Do Import button. Doing this helps you see any errors or warnings that you may want to fix before importing the data officially. Once you have fix any errors you can go through the steps above again and then just click Do Import button at this point
- If everything looks good you can hit Done
- Click on Import then click on Enrollment Import
-
Select Courses for New Survey
- Click on Survey then click Survey Administrations
- To the right of the survey you created click on the Book icon
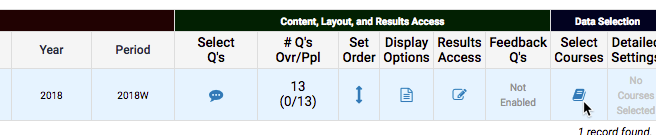
- On the next screen is where you choose the course. They may not auto show so just set a filter and they will come up
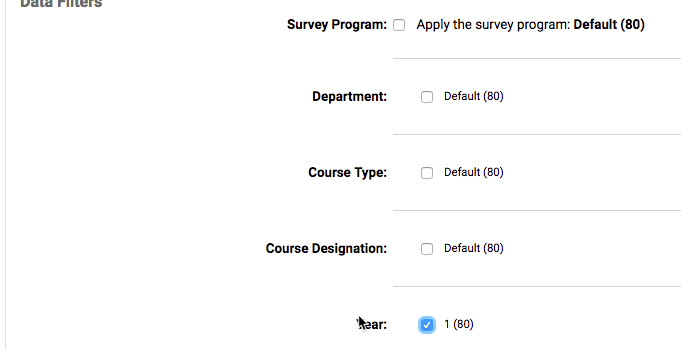
- Once the courses show up then hit Select All
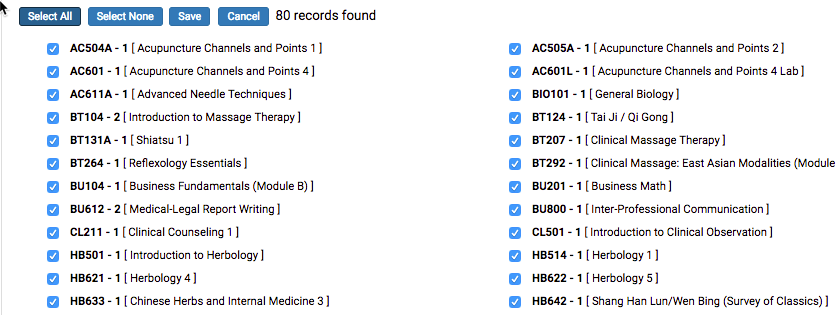
- Then hit Save

- Click on Survey then click Survey Administrations
-
Set Survey Details
- Next click on Survey then click Survey Administrations

- Now click on the survey you created
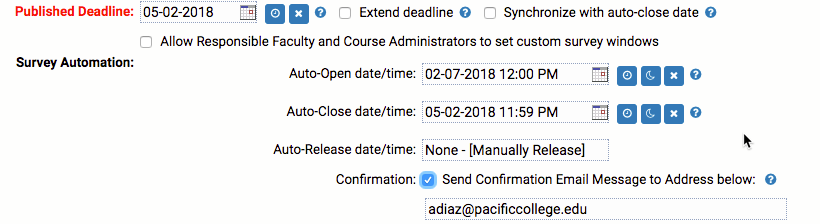
- On the next screen for the Published Deadline choose 3 weeks after the semester ends. For the Auto-Open date/time leave this blank until you have completed step 10 below after that come back and put the day you will be finished with the setting up course eval. For the Auto-Close date/time put the same date as the Published Deadline. Check the box that says Send Confirmation Email then put your email
-
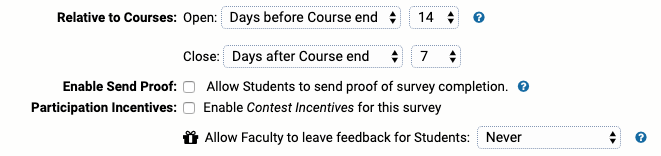
For the other part of this screen please fill it out as seen below then hit save
- Next click on Survey then click Survey Administrations
-
Make sure the courses have open and close dates
- Click on Survey then click Survey Administrations
- Next click on the Details button on the right side of the survey you created

- Before checking courses click on Reset Availability to update Course Start/End/Release values:

- On the next screen you will see all of the classes. Some classes will not have an open and close date. This might be because you are setting the times after the class has already ended as some classes are only a week long.

- Click on the blue link for the classes that do not have an open and close date, they are in green or red. Then add custom open and close dates to the Survey Open Override and Survey Close Override fields. Survey Open Override - set it to the same date as you plan to release course evaluations. Survey Close Override - set it to the date that is 21 days (or total number of days course evaluation will be open relative to course end date) after Survey Open Override. then click Save
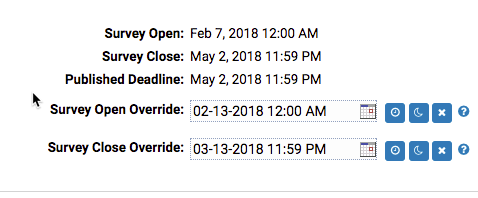
- Complete this for any classes that are in red.
- Once you have completed these steps go back to Step 10 and fill in the Survey Open date
- Click on Survey then click Survey Administrations
-
Setting access to the survey results
- Click on Survey then hit Survey Administrations
- Next to the survey you create click the icon under the Results Access
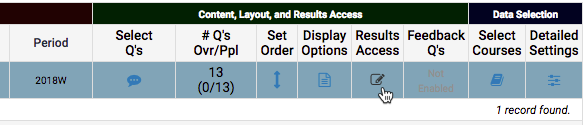
- On the next screen check all boxes as shown below then hit Save

-
Now repeat steps 8 through 11 for each campus database.
- Click on Survey then hit Survey Administrations